Fust Survival Building Guide: Pieces, Costs and Upgrades
Last updated:
Build a base shell, strengthen individual pieces, and fix awkward gaps or blocked placements. Start with the building-piece costs, then use the controls below to place and modify your structure.
16 objects
Find building-piece costs for Twig placement and the 10x Stone configuration, plus upgrade costs.
Foundation
Square Foundation · Foundation: Stone
Twig placement
50 Wood
(Per piece)
Stone placement: Stones
300 Stones
(Per piece; 10X Modded)
Stone placement: Wood
50 Wood
(Per piece; 10X Modded)
Sheet Metal upgrade
—
Armored upgrade
—
Placement
Place on suitable ground; R rotates and V/Z adjusts height. Building pieces snap to foundations.
Use
—
More details
Terrain restrictions
Cannot be placed too close to a spawn point. A deeply buried preview needs raising; high surrounding ground can allow players to jump over walls.
Triangle Foundation
Tri Foundation · Wood Triangle Foundation · Sheet Metal Triangle Foundation
Twig placement
25 Wood
(Per piece)
Stone placement: Stones
150 Stones
(Per piece; 10X Modded)
Stone placement: Wood
25 Wood
(Per piece; 10X Modded)
Sheet Metal upgrade
—
Armored upgrade
—
Placement
R rotates; V/Z raises or lowers the preview.
Use
—
More details
Maximum durability
250 HP
(Wood Triangle Foundation)
Maximum durability
1000 HP
(Sheet Metal Triangle Foundation)
Uses
Extend an existing footprint or add a triangular entrance area.
LMB places, R rotates, and RMB/X selects pieces. A floor above can block placement.
Use
Create a route to an upper floor or roof.
Ramp
Stone Ramp
Twig placement
50 Wood
(Per piece)
Stone placement: Stones
300 Stones
(Per piece; 10X Modded)
Stone placement: Wood
50 Wood
(Per piece; 10X Modded)
Sheet Metal upgrade
—
Armored upgrade
—
Placement
—
Use
—
Half Ramp
Stone Half Ramp
Twig placement
25 Wood
(Per piece)
Stone placement: Stones
150 Stones
(Per piece; 10X Modded)
Stone placement: Wood
25 Wood
(Per piece; 10X Modded)
Sheet Metal upgrade
—
Armored upgrade
—
Placement
—
Use
—
Triangle Ramp
Tri Ramp · Stone Triangle Ramp
Twig placement
25 Wood
(Per piece)
Stone placement: Stones
150 Stones
(Per piece; 10X Modded)
Stone placement: Wood
25 Wood
(Per piece; 10X Modded)
Sheet Metal upgrade
—
Armored upgrade
—
Placement
—
Use
—
Building Pieces and Material Costs
Twig placement costs are paid in Wood. The 10X Modded Stone placement costs require both Stones and Wood; add the two listed materials for the selected piece. Hammer upgrade costs apply to an existing piece and are separate from initial placement.
Choose the shape for its job: foundations establish the footprint, walls enclose it, floors cover upper levels or roof openings, and stairs provide access between levels. A Doorway supports a Wooden Door; a Wall Frame supports double doors. Window openings can accept Wooden Window Shutters.
The tools and fittings serve different purposes:
Building Plan: place the structural pieces.
Hammer: upgrade, repair, rotate, or demolish individual pieces. See Hammer controls.
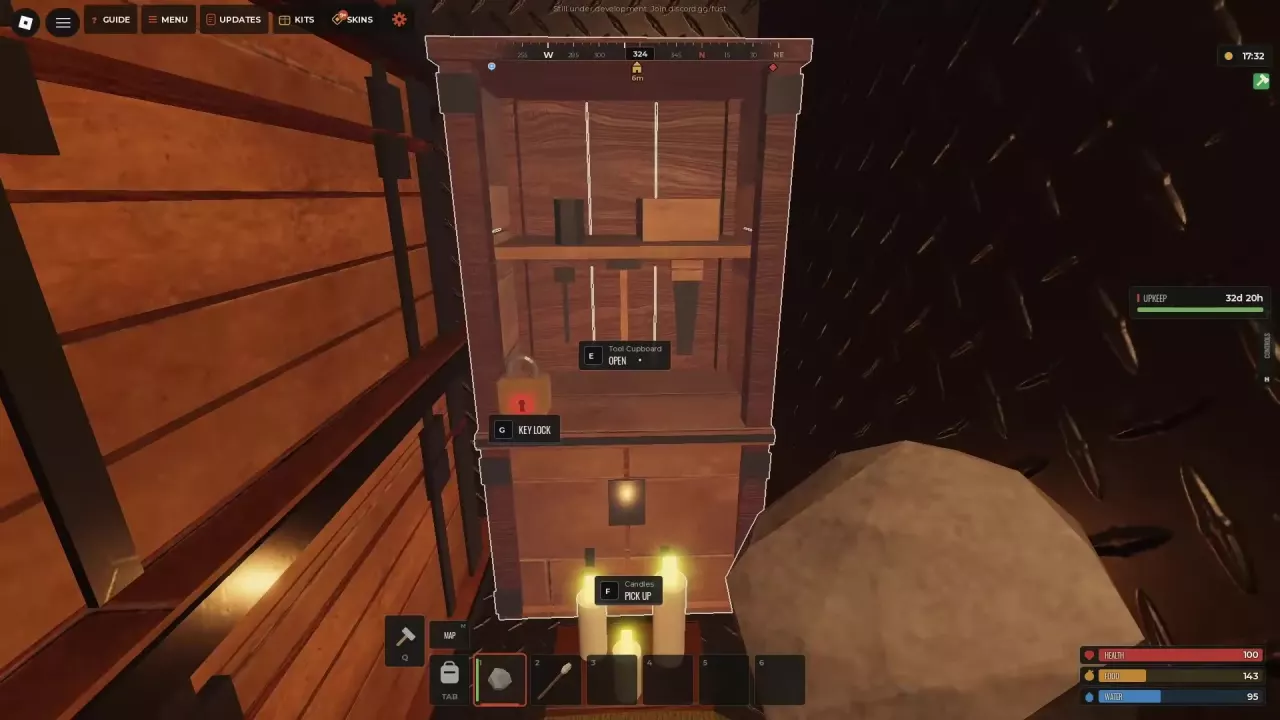
Tool Cupboard: manage building authorization, upkeep, and base-wide upgrades. Keep it supplied to prevent decay; see Tool Cupboard and upkeep.
Doors and locks: close and secure entrances after their supporting pieces are built. See doors, locks, and airlocks.
Twig is easy to destroy. Use it to establish a structure when needed, then strengthen it early.
Craft and Use the Building Plan
A Building Plan costs 20 Wood and requires no workbench. Crafting takes 1 second in the 10X Modded recipe configuration or 2 seconds in the other recipe configuration.
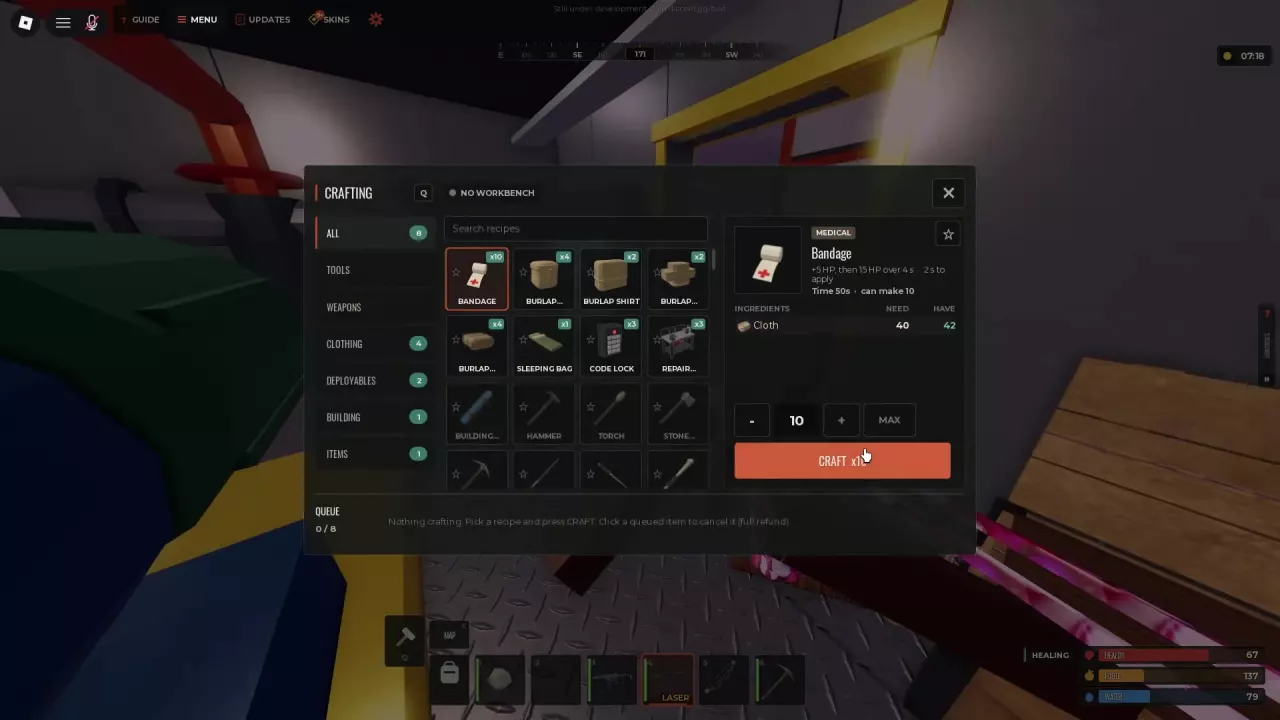
Press Q to open Crafting, select Building Plan, choose a quantity, and click CRAFT.
Move the finished plan into your hotbar and equip it. Carry the materials for the pieces you intend to place.
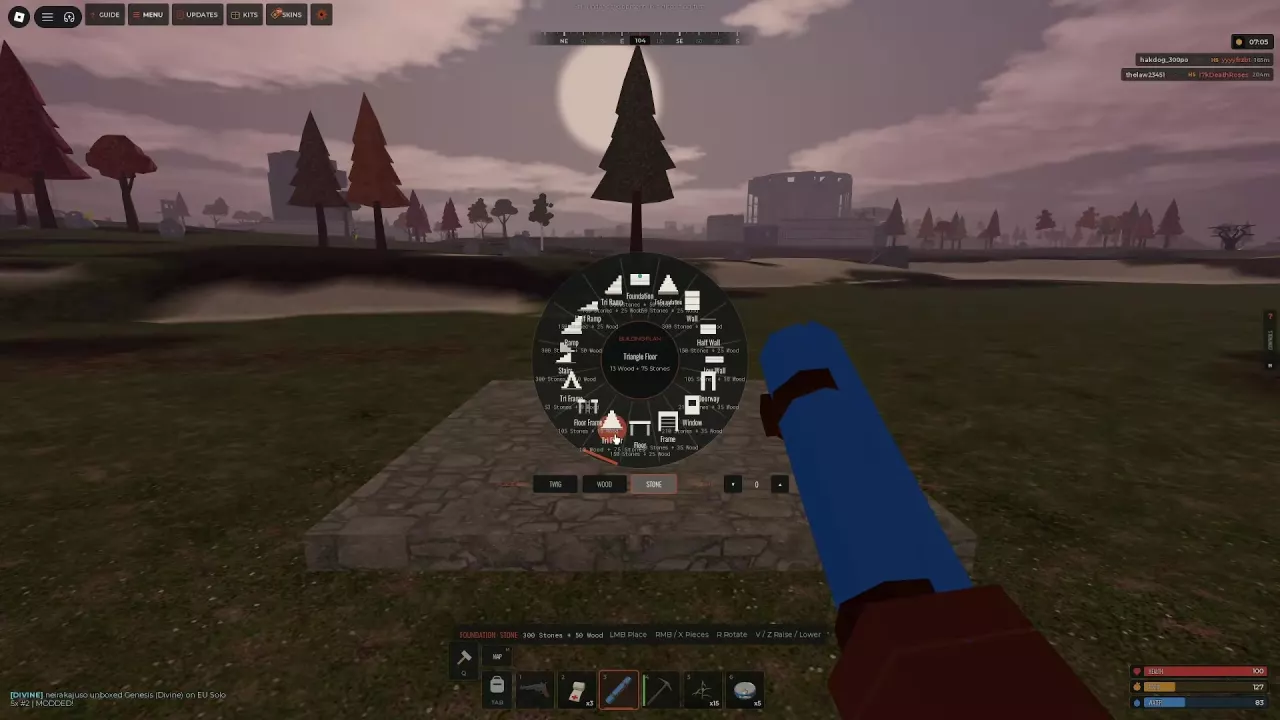
Hold RMB or X, move the cursor onto a piece, and release to select it. You can also click RMB and then click a piece. Choose Twig, Wood, or Stone in the wheel.
Aim at suitable ground to preview a foundation. Use R to rotate it and V/Z to raise or lower it, then click LMB to place it.
Aim at a foundation edge or wall top to attach walls and wall frames. Follow the R Rotate/Flip prompt to set their orientation.
Build the appropriate entrance support, then add floors across the wall tops to form the roof. Doors are separate items installed afterward.
Favoriting the Building Plan recipe makes it available through Quickcraft when you have the required materials. For queue and crafting-menu help, see crafting and workbenches.
Upgrade with a Hammer or Tool Cupboard
In the 10X Modded recipe configuration, a Hammer costs 100 Wood, takes 1 second to craft, and requires no workbench. Use it when you want to strengthen a particular piece, such as a newly placed roof patch.
Upgrade an individual piece
Equip the Hammer and aim at the piece.
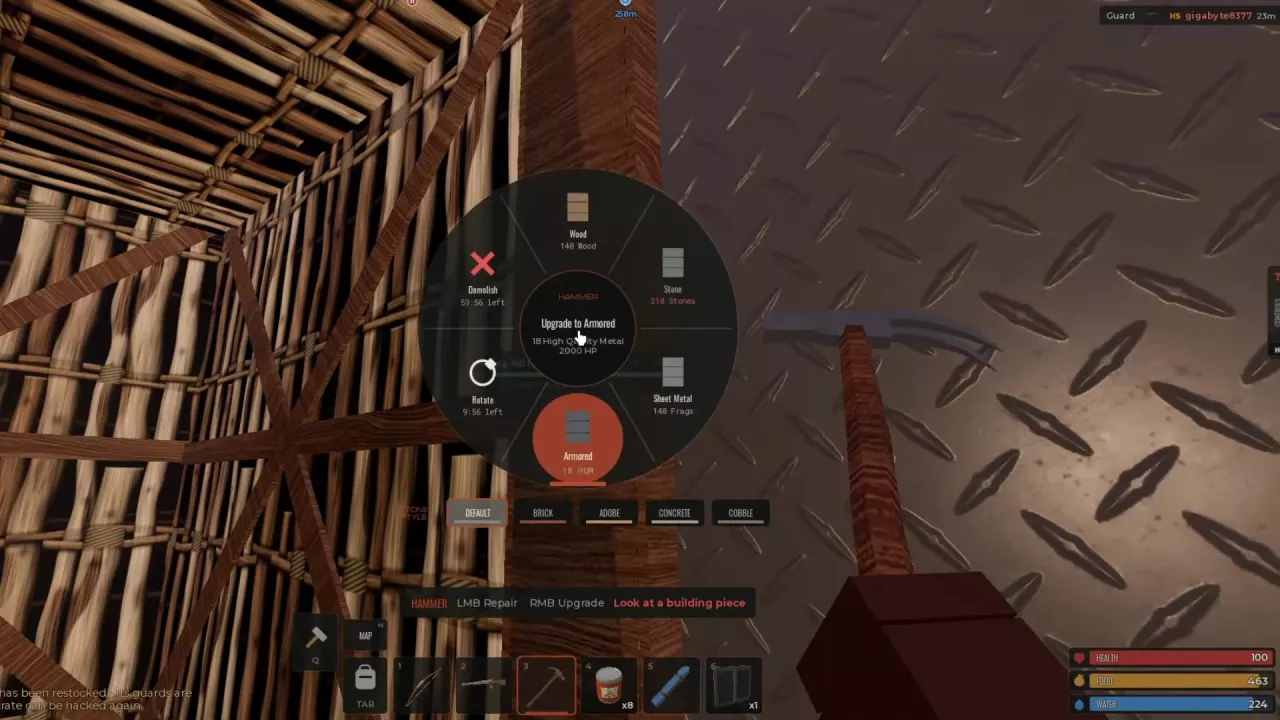
Press RMB to open its upgrade menu.
Choose Wood, Stone, Sheet Metal, or Armored, with enough of the required material available.
After selecting a grade, follow the displayed action. When the prompt reads LMB Sheet Metal, left-click applies that selection to the targeted piece; RMB More reopens the options.
A successful upgrade displays the selected material and updates the piece’s durability. Costs depend on the piece:
Existing piece
Wood upgrade
Stone upgrade
Sheet Metal upgrade
Armored upgrade
Wall Frame
140 Wood
210 Stones
140 Metal Fragments
18 High Quality Metal
Floor
100 Wood
150 Stones
100 Metal Fragments
13 High Quality Metal
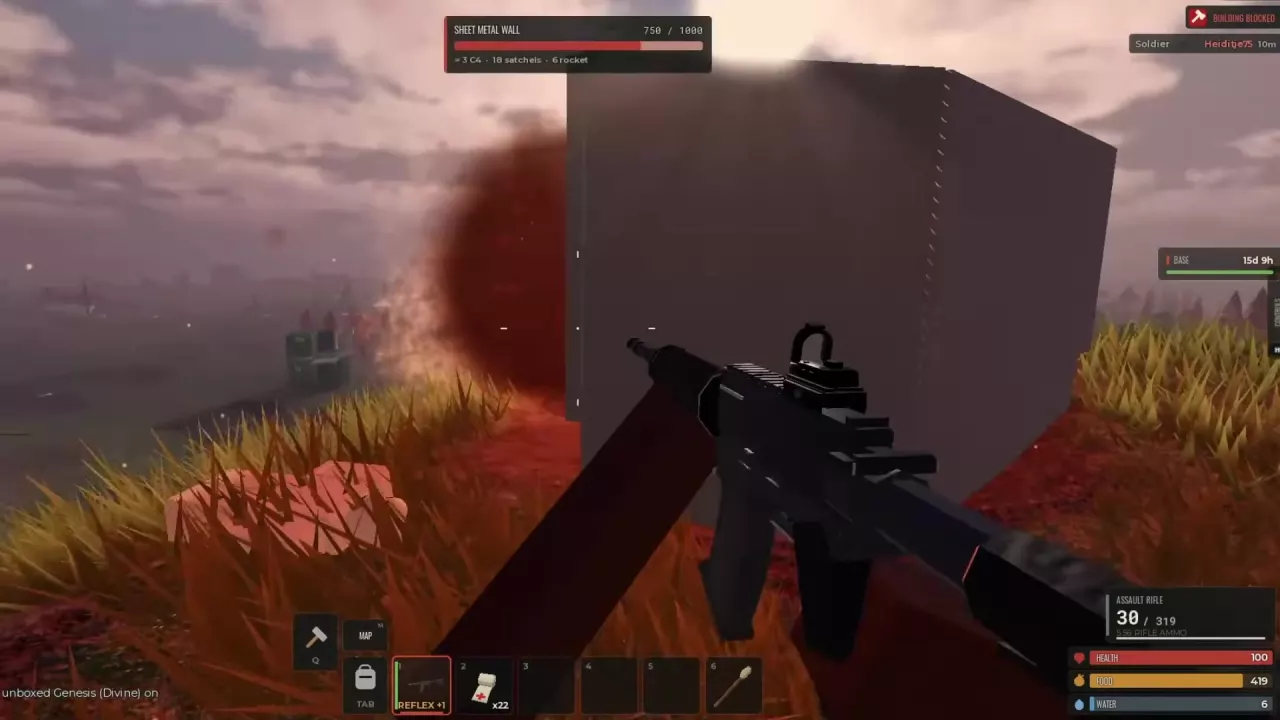
Sheet Metal gives both of these pieces 1,000 HP. An Armored Wall Frame has 2,000 HP. The Floor is cheaper to upgrade than the Wall Frame, so budget by the actual pieces rather than treating every part of the base as equally expensive.
For repairs, aim at a damaged piece and use LMB Repair when that action is displayed. Not damaged means the targeted piece does not need repair.
Read the whole-base upgrade requirement
Open your Tool Cupboard with E and use AUTHORIZE under AUTHORIZED PLAYERS if you are not already authorized.
Open UPGRADE BASE and select WOOD, STONE, SHEET METAL, or ARMORED (HQM).
Read the covered piece count and total material requirement for that grade.
Supply the required materials, then use UPGRADE BASE for the selected grade. A not enough message means the available materials do not cover it.
Use the displayed total for your current base. Different shapes and existing grades make a single average cost per piece unreliable. If every covered piece is already Wood or better, selecting WOOD can report that the requirement is already met.
Authorization and ongoing maintenance are covered in the Tool Cupboard guide.
Fix Placement Messages
Read the message beside the placement controls and change the condition it identifies. Shape, support, clearance, distance, and materials can each prevent placement.
Message or placement problem
What to do
Too close to a spawn point
Move the foundation farther from the spawn point.
Foundation too deep
Raise or lower the preview with V/Z, or choose another position. Avoid surrounding ground high enough for players to jump over your walls.
Can't place a square over a triangle
Select Triangle Floor for the triangular opening.
Aim above a wall
Move the Floor preview above a supporting wall.
Wall or Wall Frame needs a foundation edge or wall top
Aim at that attachment point instead of open ground.
A player is in the way
Clear the placement area or move the preview away from the player.
Blocked by another piece
Reposition the preview so it does not overlap an existing building piece.
Something is in the way
Move the preview clear of the obstruction.
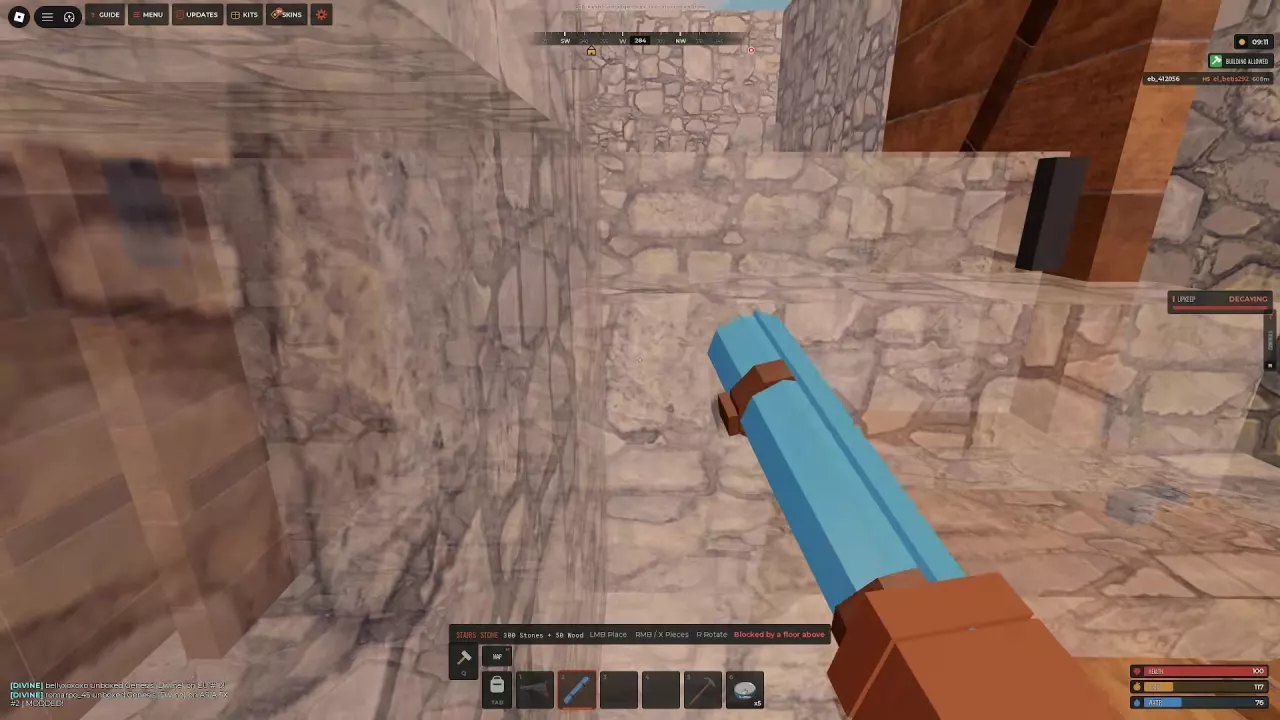
Blocked by a floor above
Leave clear space above the staircase by changing its position or the floor arrangement.
Blocked by stairs
Move the floor or frame preview clear of the staircase.
Too far away
Move closer to the placement point.
Can't afford
Carry the required materials for both the selected shape and material grade.
For Building blocked, first look for a more specific placement message. The general label alone does not identify which condition needs changing.
Rotate, Demolish and Patch a Roof
Before placement, use R with the Building Plan to rotate or flip the preview when that control is offered. For an existing piece, equip the Hammer, aim at it, and open the RMB menu. Select Rotate or Demolish when available. These actions can display countdowns; use the current piece’s menu to see the time remaining.
Close a roof opening
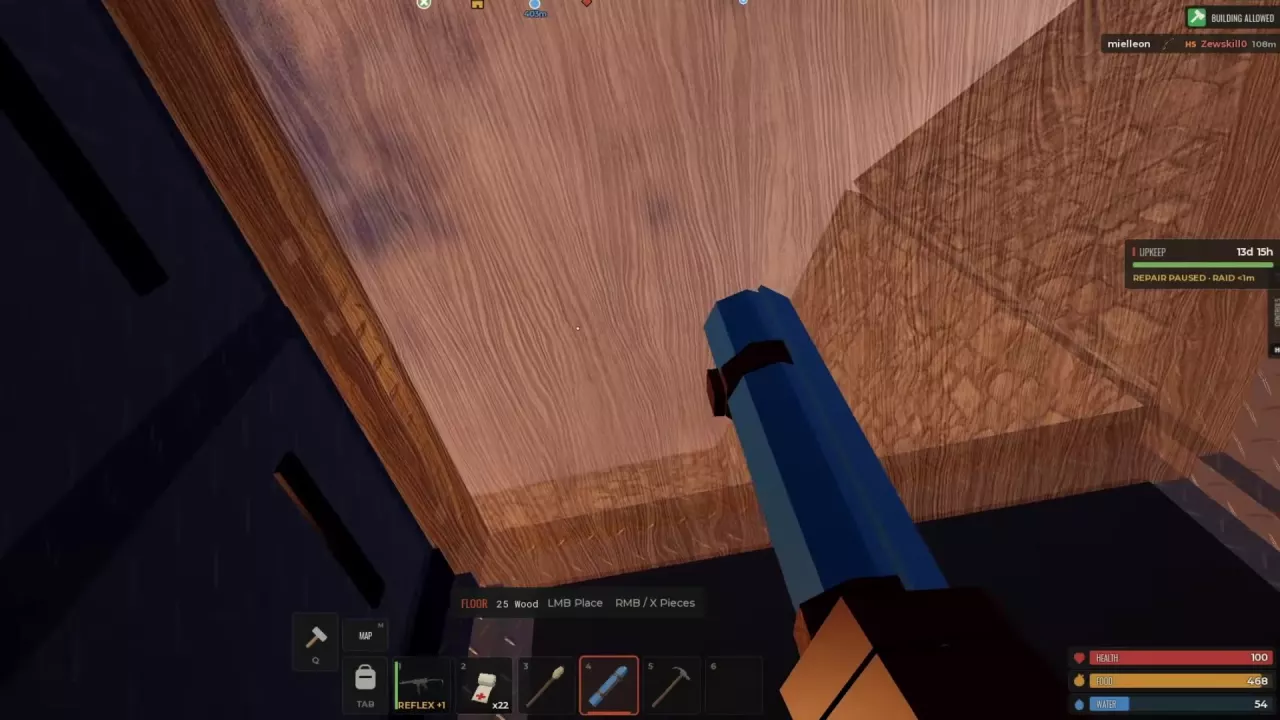
Use Floor for a square opening and Triangle Floor for a triangular one. To place and strengthen a square Twig roof patch:
Equip the Building Plan, select Twig → Floor, and aim above the walls at the opening.
Spend 25 Wood and press LMB to place the floor.
Equip the Hammer and target the new piece.
Open the upgrade menu and select Sheet Metal for 100 Metal Fragments, then apply it using the displayed action.
This patch uses 25 Wood plus 100 Metal Fragments in total. The new Twig Floor has 50 HP; the Sheet Metal Floor has 1,000 HP. Strengthening the patch keeps the freshly closed opening from remaining a weak Twig section.
Connect Floors and Reach the Roof
Choose access that fits the structure: Stairs create an internal route, a Wooden Ladder lets you climb a wall, and an installed Triangle Ladder Hatch opens a passage between levels.
Stairs
Select STONE → Stairs in the Building Plan wheel. In the 10X Modded configuration, one Stone staircase costs 300 Stones and 50 Wood. Rotate it with R, leave an opening above the route, and place it with LMB. Plan the stair opening before closing the upper floor so you can keep a usable path to the next level.
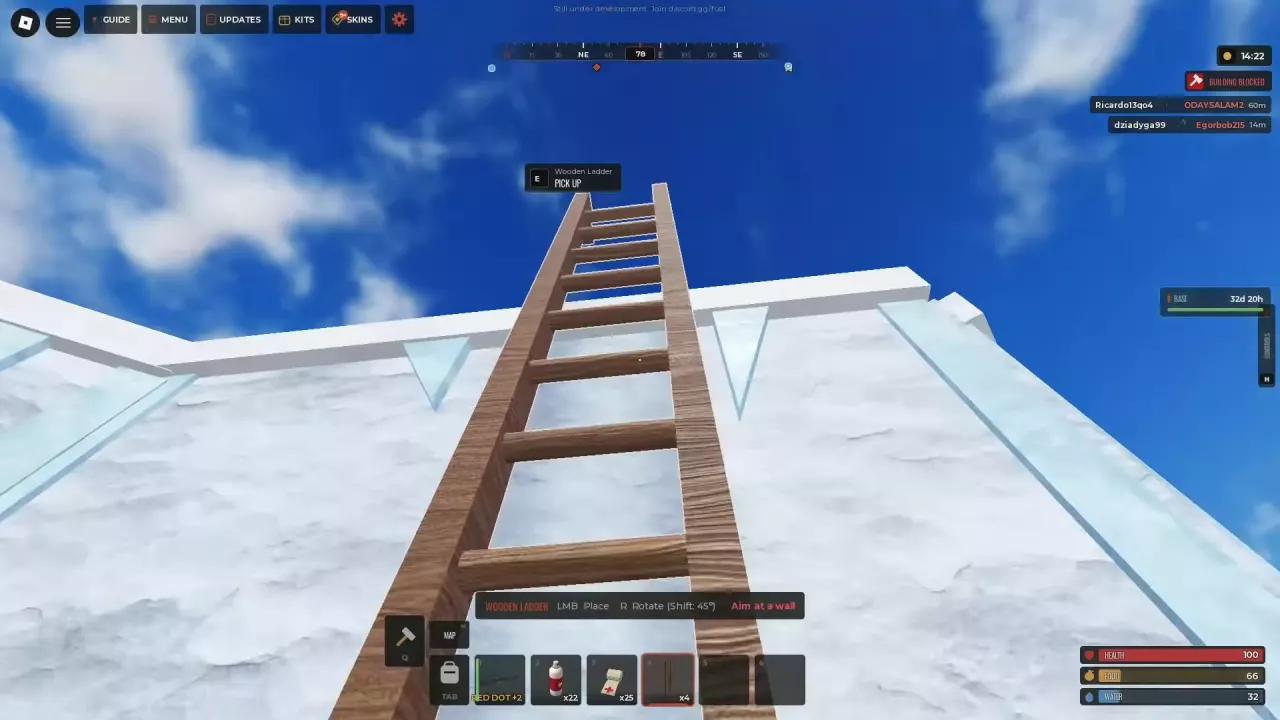
Wooden Ladder
Select a Wooden Ladder on your hotbar and aim at a wall.
Press R to rotate it; hold Shift while rotating for 45-degree rotation.
Press LMB to place it, then climb to the roof.
If the preview says Aim at a wall, move it onto a valid wall surface. To retrieve a placed ladder, target it from nearby and use E PICK UP. Exterior climbs can expose you to gunfire, so use an internal route when you need protected access within your own base.
Triangle Ladder Hatch
At an installed Triangle Ladder Hatch, press E OPEN to open the passage. Once open, the prompt changes to E CLOSE. Close it after passing through when you want the opening shut.
Build a Layout You Can Maintain
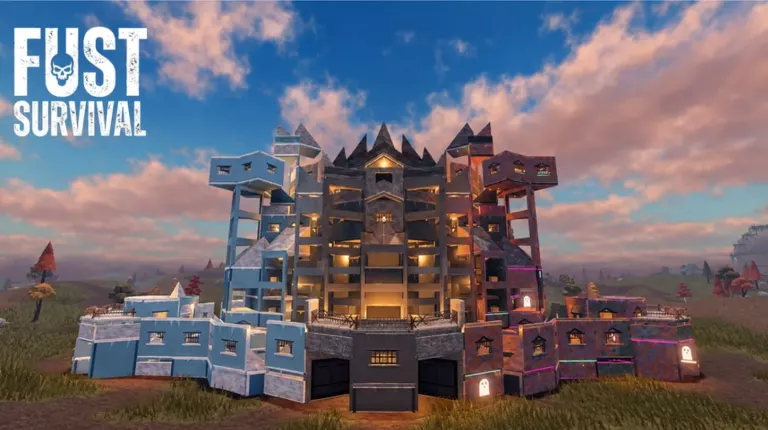
Start compact. A Stone 2×2 gives you a manageable shell to enclose and equip before expanding. Reserve space for essential facilities and a clear entrance route; follow the solo starter-base layout.
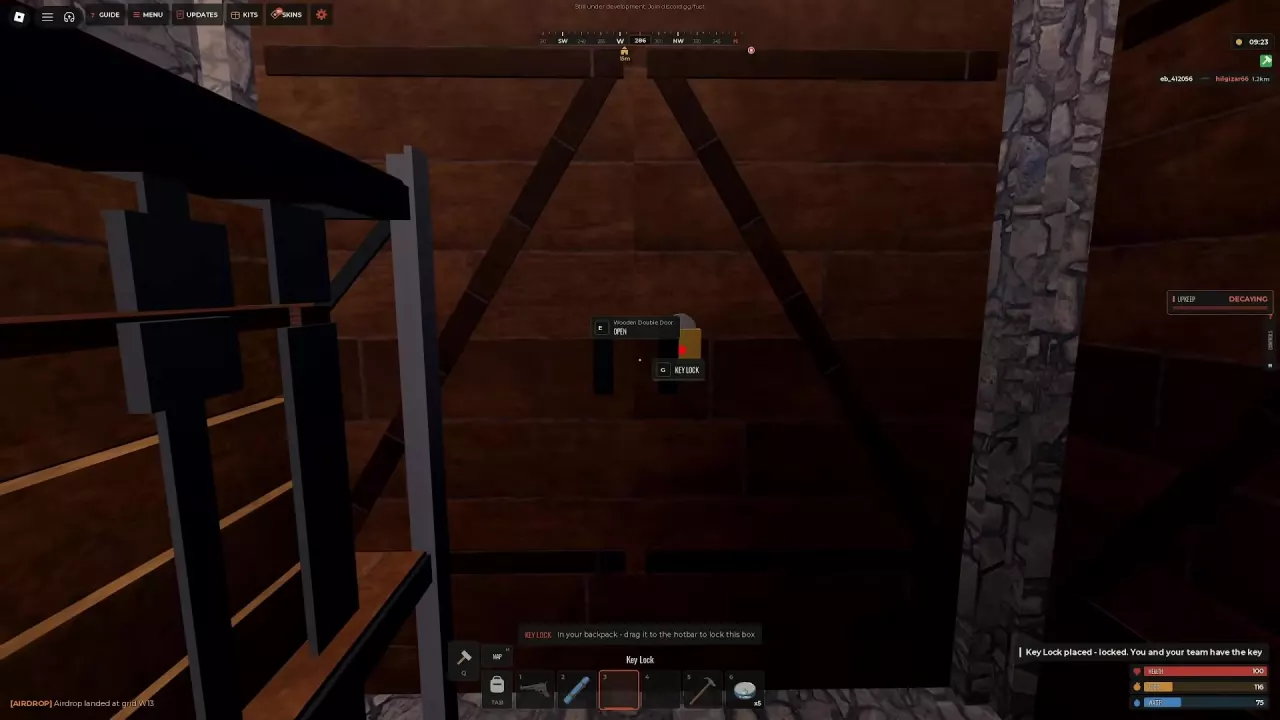
Choose the entrance before building its frame. Use a Doorway for a Wooden Door or a Wall Frame for a double door. Install a lock and consider a second-door airlock to separate the interior from the outside. See doors and base defense.
Budget for upkeep as well as construction. After expanding, read the Tool Cupboard’s current daily requirements and replenish its resources. Unpaid upkeep allows gradual decay; use the upkeep guide to manage protection and repair status.
Use vertical storage before adding more rooms. Shelves let you organize boxes above one another while preserving walking space. See storage boxes and shelf layouts for placement and capacity choices.
Secure your Fust Survival base with correctly fitted doors, Key Locks and an airlock. Compare door health and learn to place shutters and temporary barricades.
Plan a Fust Survival raid with durability-based explosive costs, compare entry routes, place C4, climb with ladders, and loot without confusing TC access with authorization.