
Fust Survival 2x2 Base: Solo Stone Starter Layout
Last updated:
A compact stone 2x2 gives a solo player room for essential facilities while leaving options to expand as resources allow.
Choose Buildable Ground
Press M to check your position and nearby landmarks, then equip a Building Plan and preview a Foundation. A spot away from nearby players can reduce immediate pressure, and a small base is easier to afford and strengthen early on.
If the preview says Too close to a spawn point, move farther away. Use V/Z to raise or lower a foundation that sits too deep. Check the surrounding terrain as well: avoid ground so high that someone could jump from it over your walls.
Build the Stone 2x2 Shell
- Equip the Building Plan, open its piece wheel, and select Stone.
- Place four Foundations in a two-by-two square. Adjust their previews to fit the ground and connect the footprint.
- Attach Walls around the edges, leaving an entrance for a Doorway or Wall Frame.
- Place Floor pieces across the top to form the roof. If a preview says Blocked by another piece, adjust its position before placing it.
Budget for each piece as you build. In the 10x Modded setup, a Stone Foundation or Stone Wall costs 300 Stones and 50 Wood each; a Stone Floor costs 150 Stones and 25 Wood. The entrance and any later additions require their own materials. See the building guide for other pieces and upgrades.
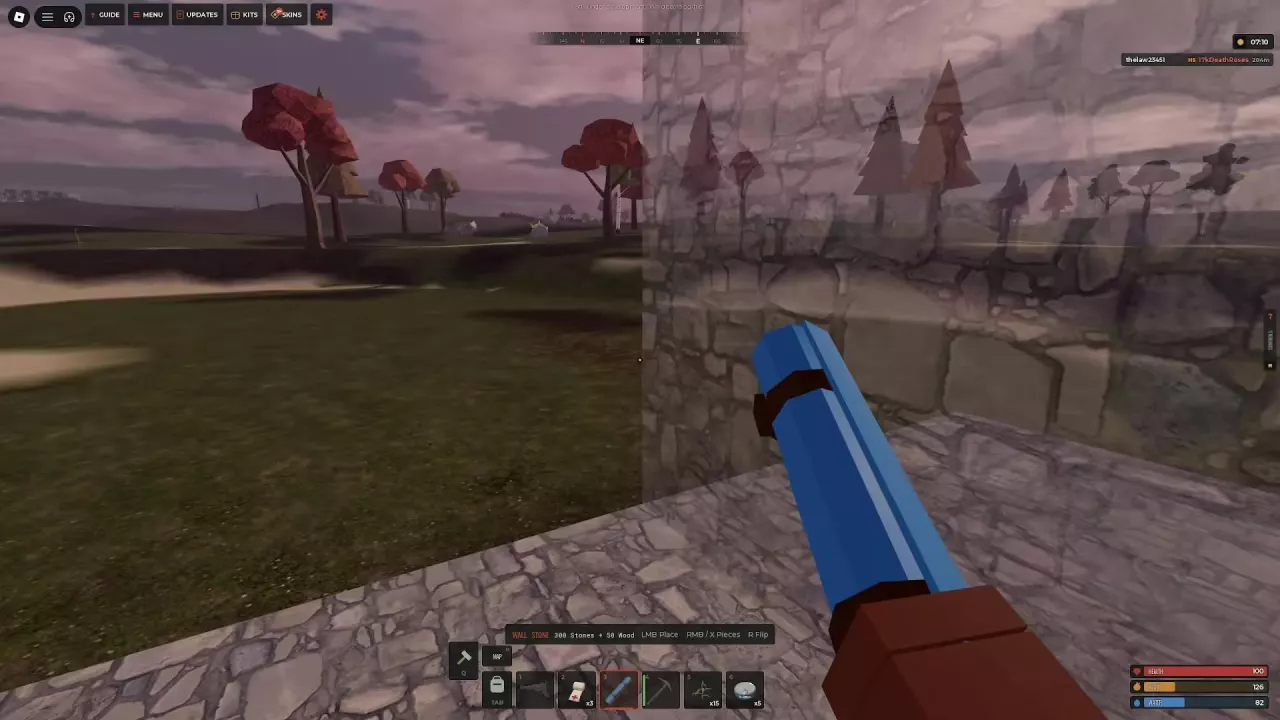
Reserve Space for Daily Use
Arrange the interior around a clear route from the entrance. Put the Tool Cupboard against a wall, leave room for a Workbench Level 1, and place two Furnaces side by side if you want both within the base. Reserve accessible space for storage and a Sleeping Bag so you can return to the base after death.
Keep the path between facilities open, especially where you intend to add stairs. Shelves can use vertical space for boxes: each of their three levels holds two Wood Storage Boxes or one Large Wood Box. Make Shelves within Workbench Level 1 range.
For facility recipes and use, see the furnace guide, workbench guide, and storage layouts.
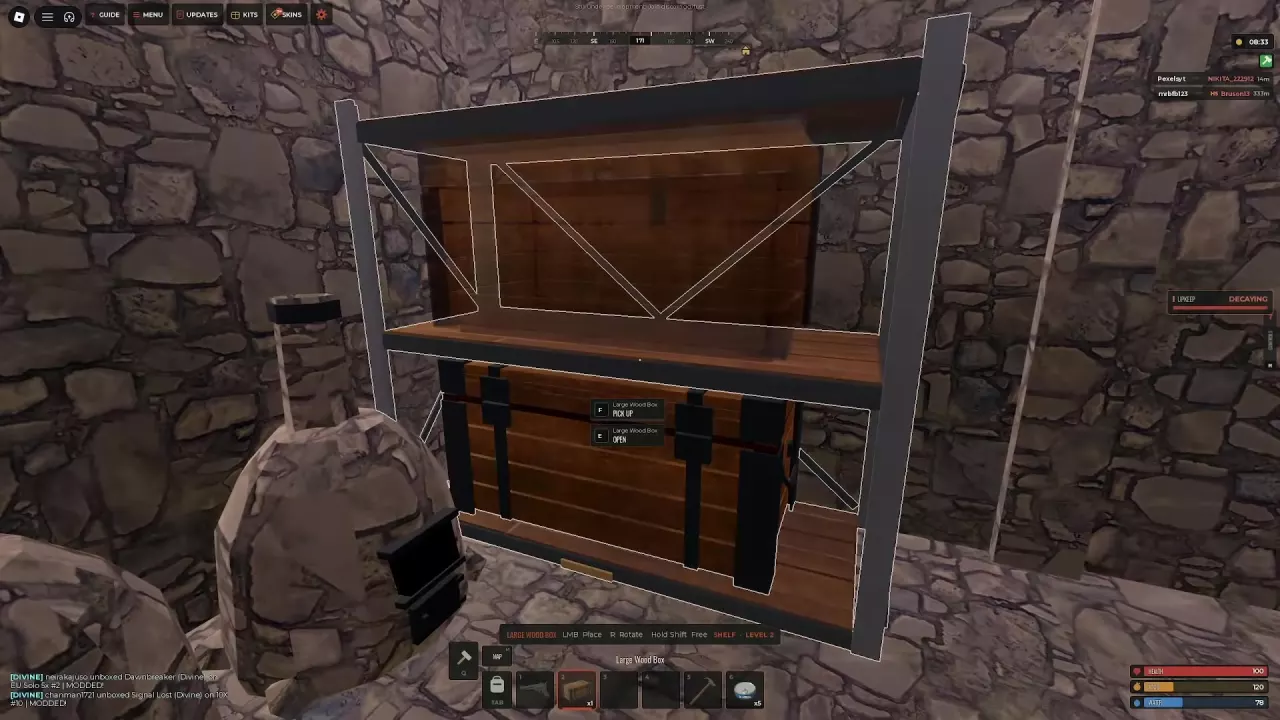
Secure the Entrance and Pay Upkeep
Install a single door in a Doorway, or a double door in a Wall Frame. Attach a Key Lock to the door and another to the Tool Cupboard. A Key Lock is placed locked; you and your team automatically have the key.
Craft the Tool Cupboard with 1,000 Wood, place it inside, and press E to open it. Deposit the resources shown under PER DAY to pay upkeep; placing the cupboard alone does not pay it. The cupboard also prevents other players from building nearby. If the HUD says DECAYING, check its maintenance panel.
To add an airlock, attach a Triangle Foundation outside the entrance, enclose the added space with walls, and install another doorway and door. Close one door before opening the other so the extra space separates the outside from the main room. See doors and locks and Tool Cupboard upkeep for further details.
Expand Without Blocking Movement
Add Triangle Foundations and walls where you need more room, using Half Walls and Triangle Floors where they fit the extension. Preview each piece against the existing structure before placing it.
For an upper level, select Stone Stairs with the Building Plan, rotate and position the preview, and leave enough open space above the stairs to climb through. Keep storage and other facilities clear of the walking route. After adding pieces, reopen the Tool Cupboard and check the updated PER DAY requirements.
Related guides
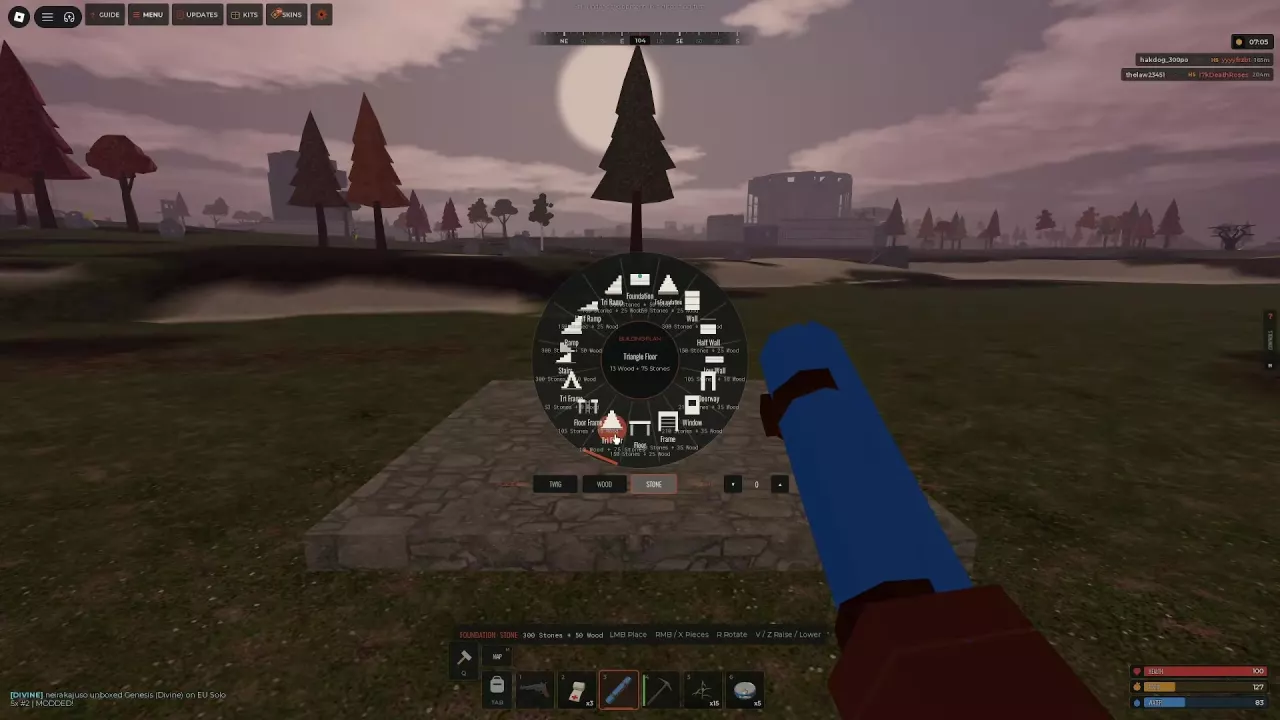
Find Fust Survival building costs, learn Building Plan and Hammer controls, fix placement errors, upgrade your base, and build stairs or patch a roof.
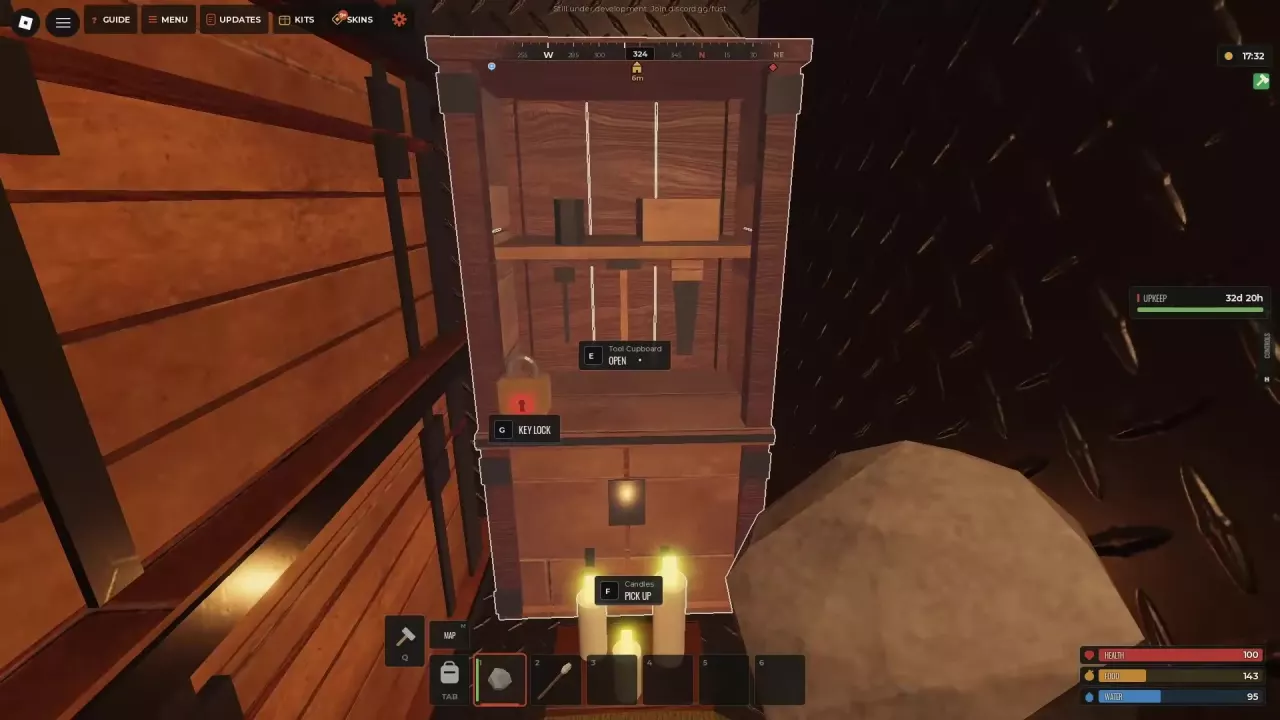
Set up your Fust Survival Tool Cupboard, manage authorization, pay daily upkeep, stop decay, and understand automatic repairs and raid pauses.
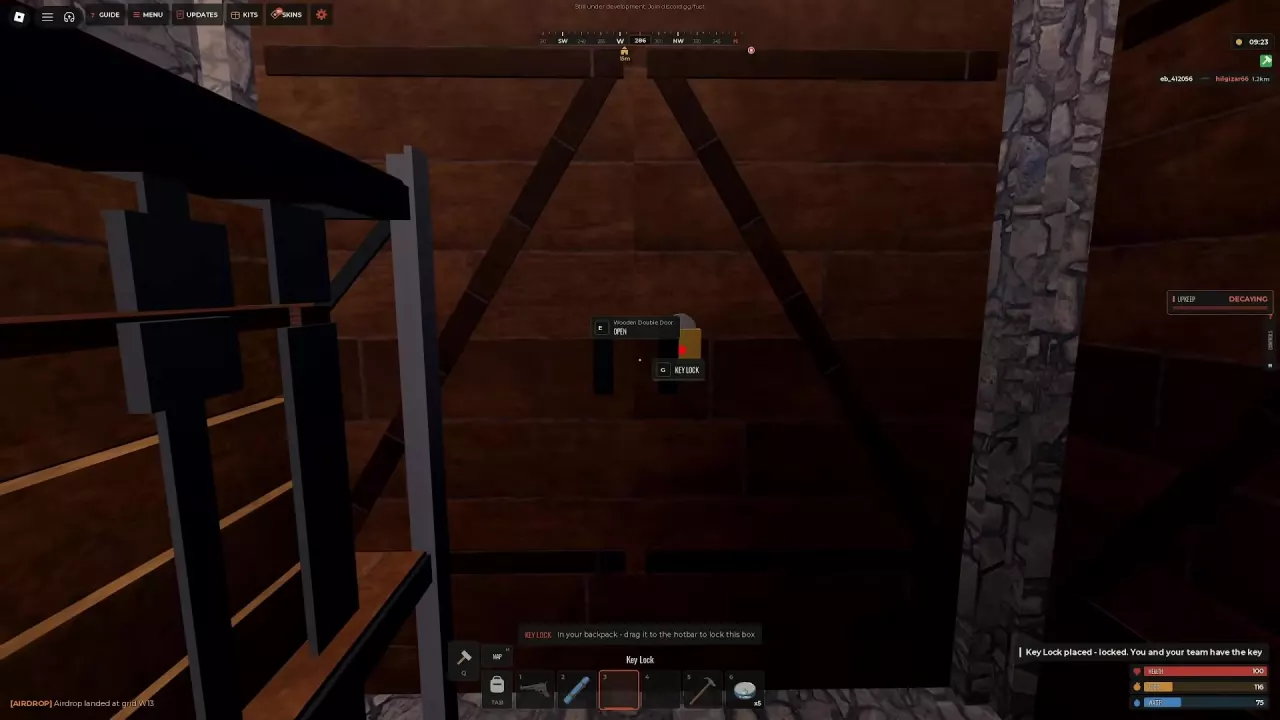
Secure your Fust Survival base with correctly fitted doors, Key Locks and an airlock. Compare door health and learn to place shutters and temporary barricades.
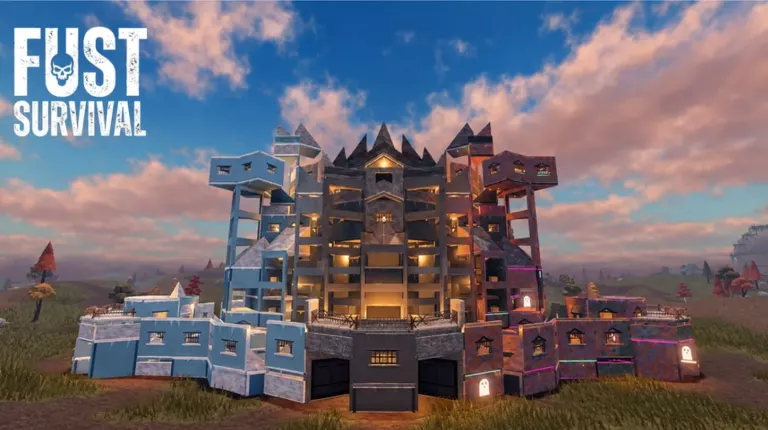
Compare Fust Survival storage capacities, organize and lock boxes, and place them on three-level shelves.
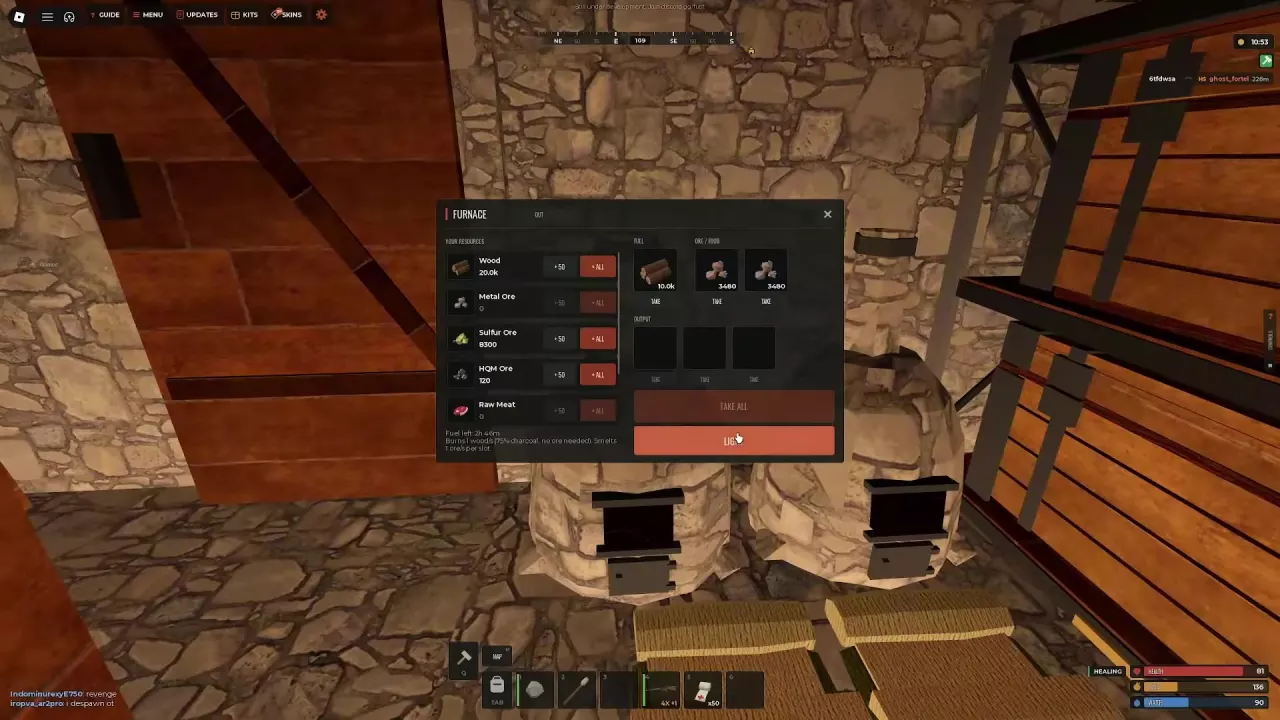
Craft and use a Fust Survival Furnace, split ore between both slots, estimate Wood use, and make Charcoal.
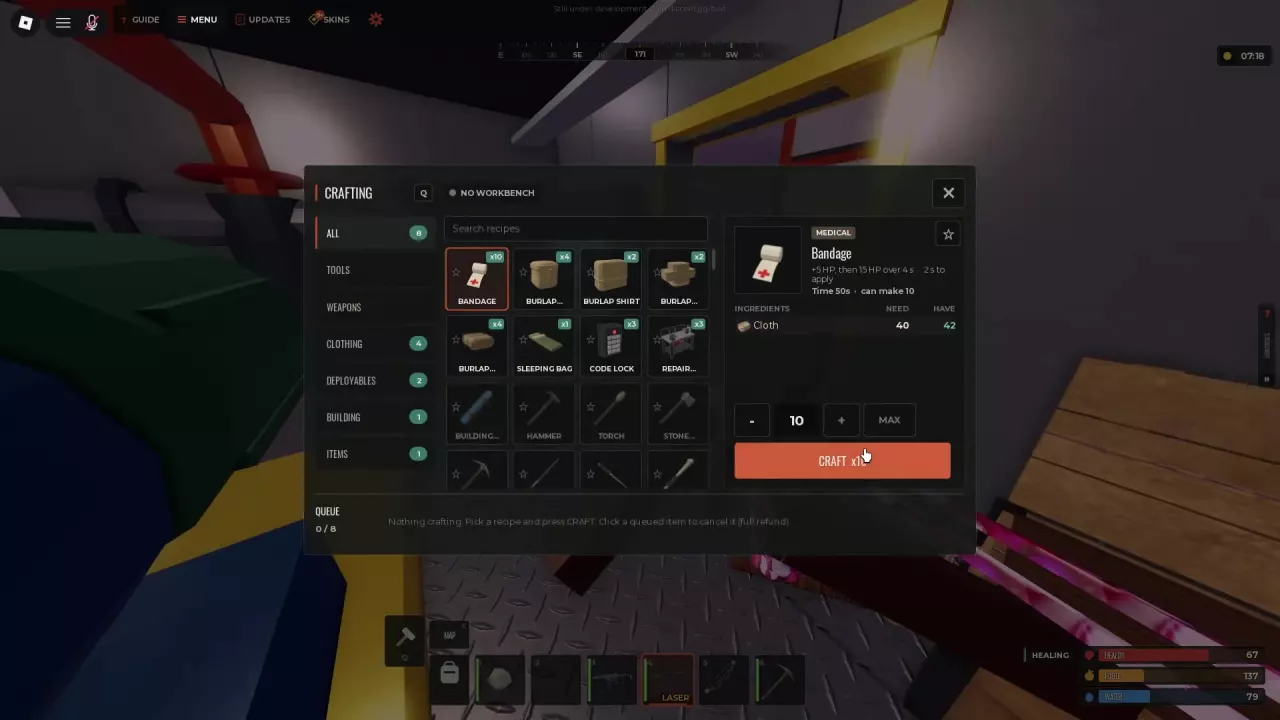
Learn Fust Survival crafting recipes, batch queues, Quickcraft favorites, workbench requirements, and Repair Bench costs and durability tradeoffs.