Wooden Crates, defeated Guards, and Military Crates in a green building
Loot areas
—
Access
—
Approach risk
—
Other opponents
—
More details
Features
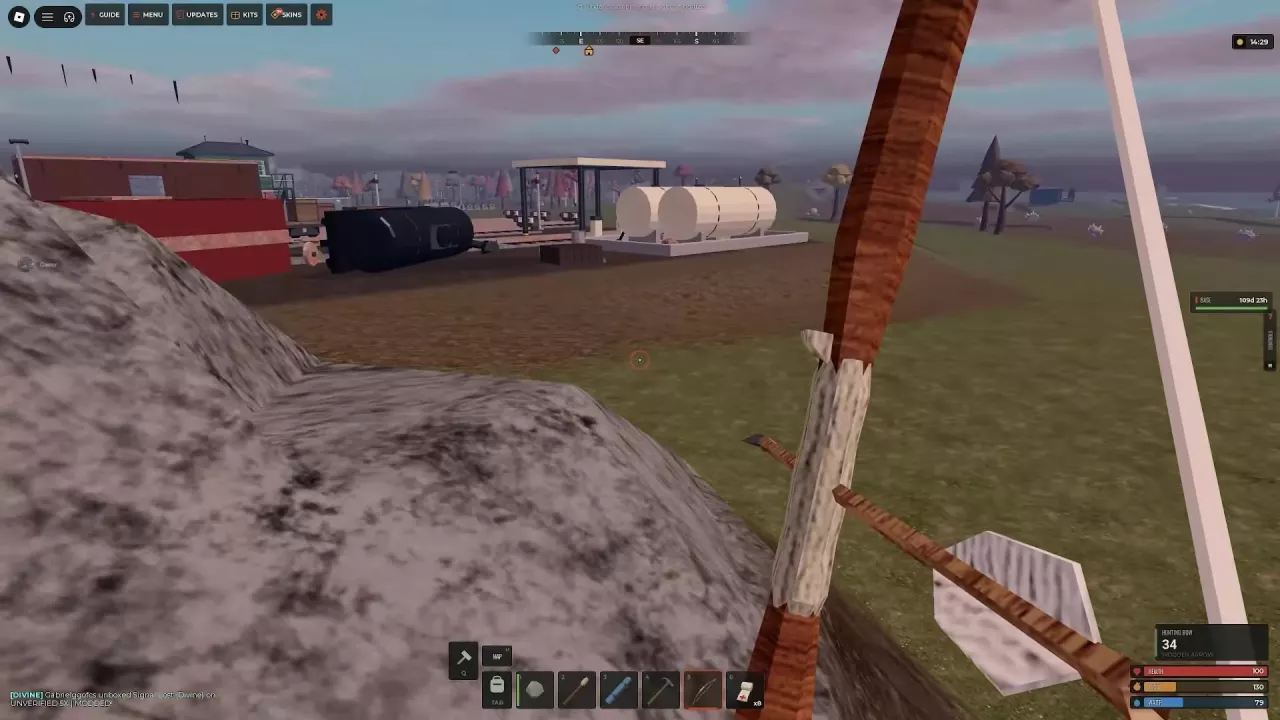
Tracks, brick buildings, train cars, storage tanks, and a green building
Military Crates in the green building
2 crates
(Described 10X MODDED route)
Equipment progression example
Hunting Bow and Revolver against Guards, followed by a Custom SMG acquired from a Military Crate
(10X MODDED run)
Enemy encountered
Guard
Satellite Dish
Type
Satellite installation
Loot stops
—
Loot areas
—
Access
—
Approach risk
Other players can fire from the installation's direction and contest the approach.
Other opponents
—
More details
Features
Multiple large satellite dishes and buildings
Navigation
Use the location marker's direction and distance when approaching across the grass and hillside.
Oil Rig
Type
Offshore industrial monument
Loot stops
—
Loot areas
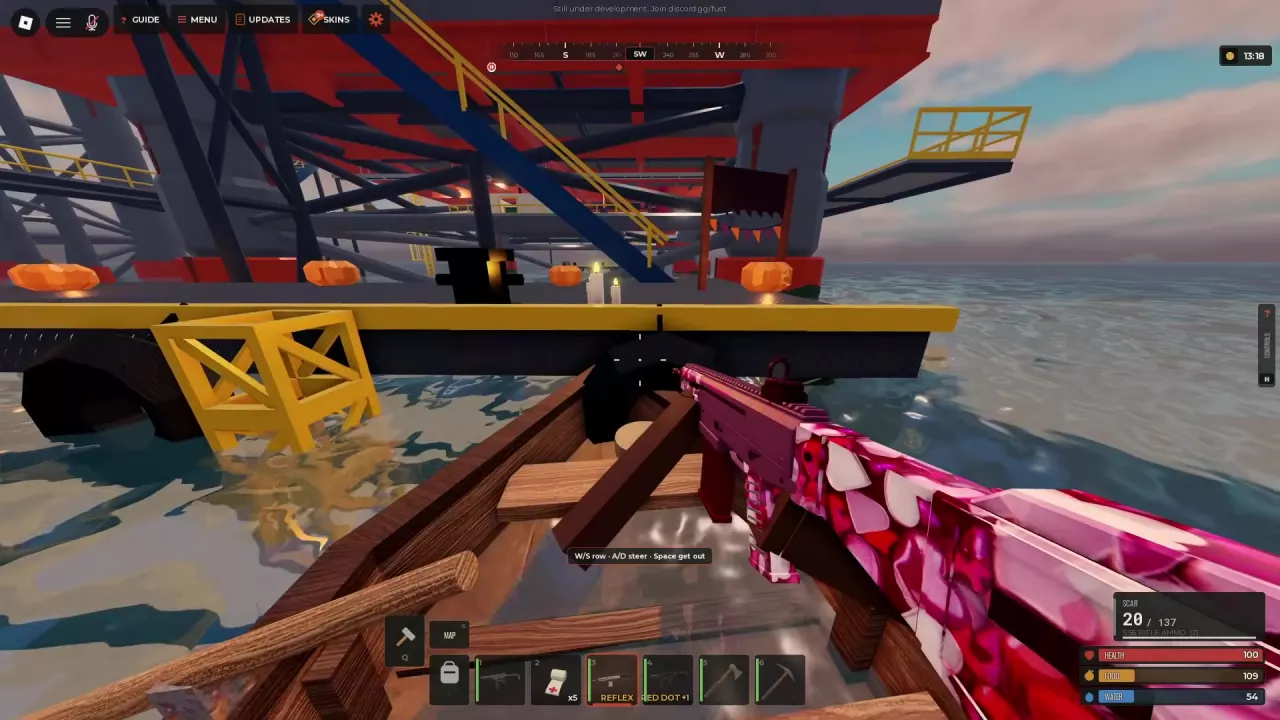
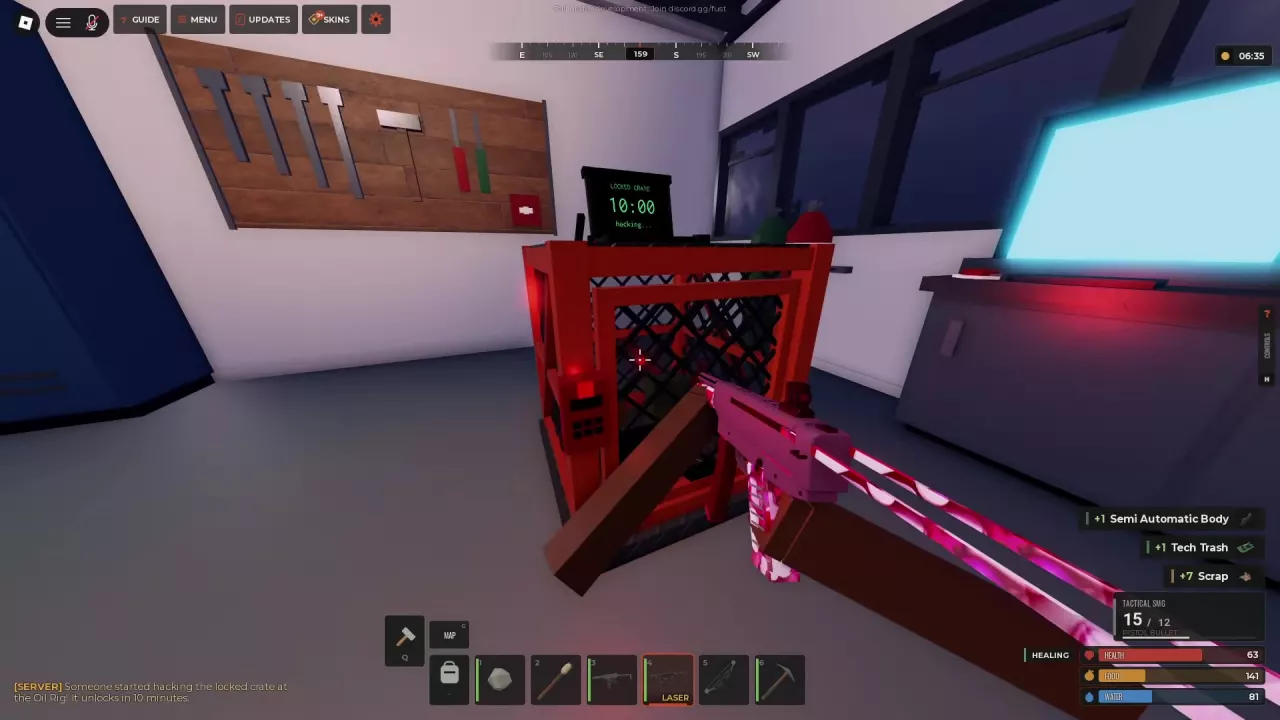
Wooden Crates on platforms; Military Crates in rooms, on platforms, on an upper level and at the helipad; an Elite Crate in an upstairs room; a Locked Crate in CONTROL
Access
Approach by boat, board the lower platform and climb the stairs.
Approach risk
—
Other opponents
—
More details
Map position
Offshore southwest of the main island
(Map layout used during the Rowboat visit)
Route landmarks
Connected walkways, stairs, containers, crane, CONTROL room, upper platforms and helipad
Guard encounter areas
Landing stairs, platforms, building approaches, connected passages and upper levels
(Encounter areas across the explored routes)
Exit route
Leave CONTROL, cross the deck past the containers and crane, descend the stairs and board the boat beside the lower platform.
Locations and Useful Stops
Choose a destination by the service or loot stop you need, then match the trip to your equipment. Rail Depot and Trainyard are separate railway destinations. Oil Rig and Old Oil Rig are also separate map labels.
Other named locations include Timber Mill, Airfield, Hollow Point, Ironwater Shipyard, Cave, Supermarket, Relay Station, Redrock Quarry, Lighthouse, Power Plant, and Arctic Research Base.
Outpost
Type
Safe-zone settlement
Services and signs
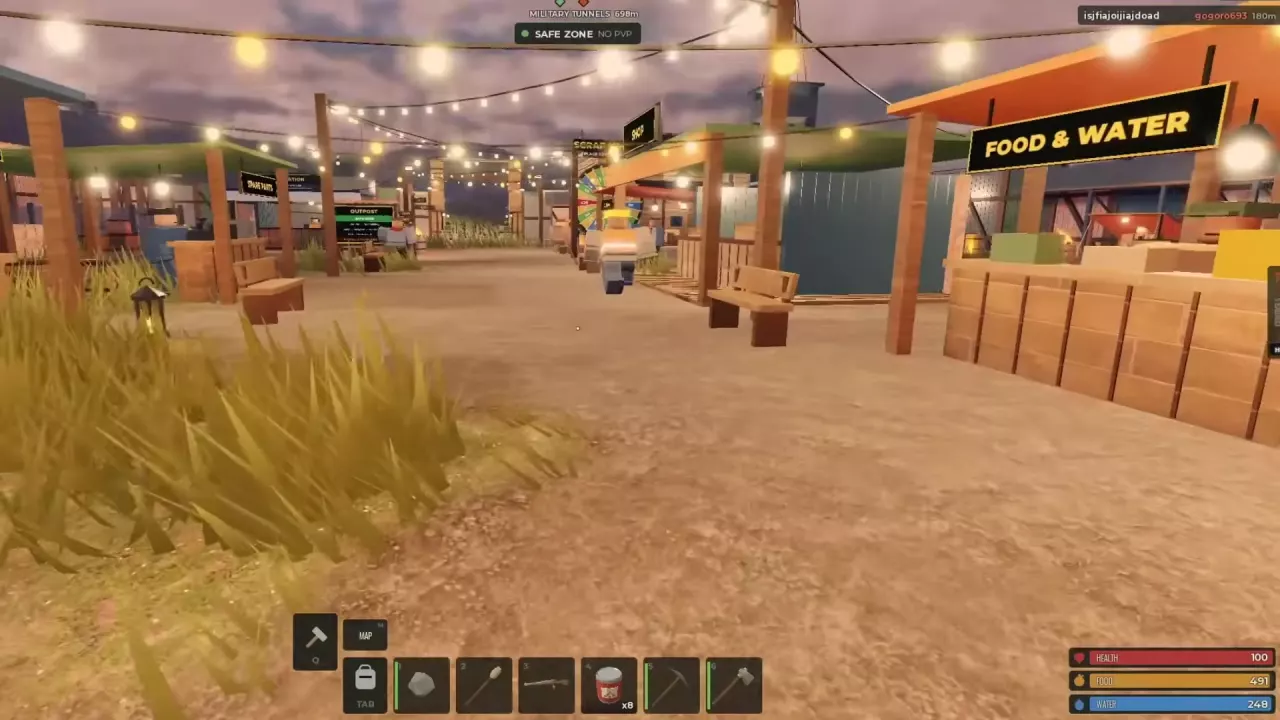
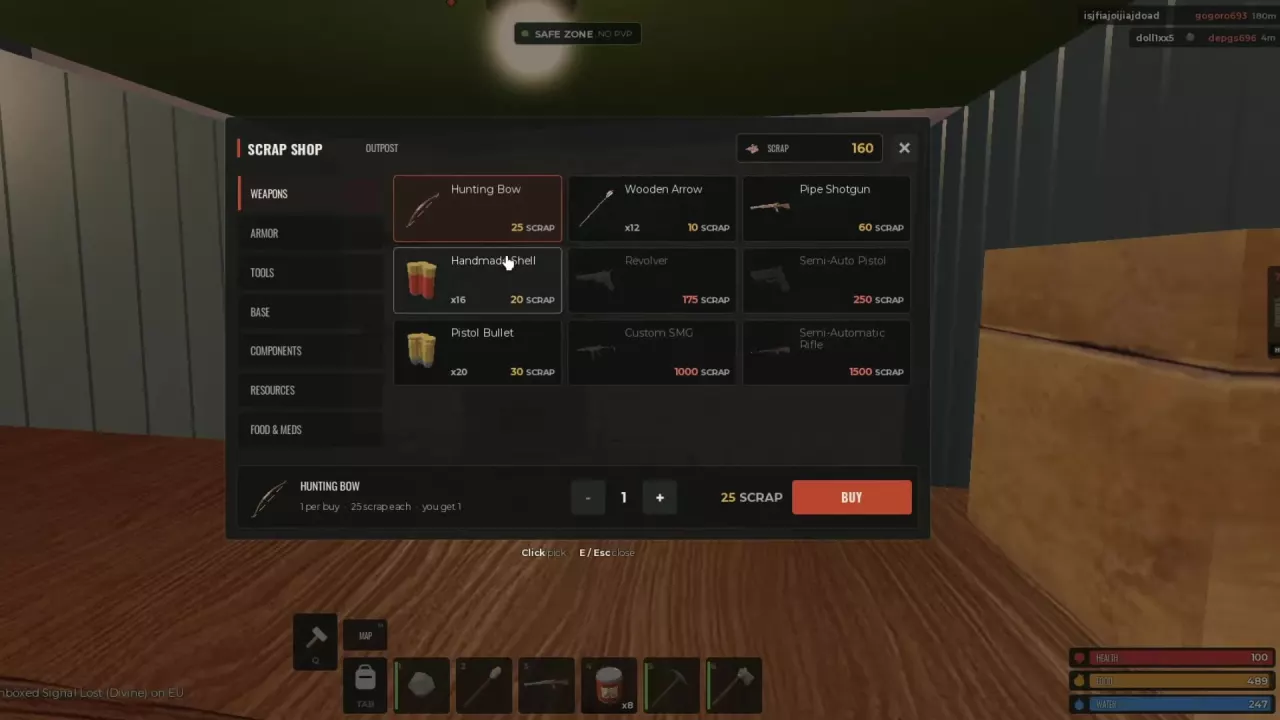
Scrap Shop, Tool Trader, TOOLS, SHOP, Food & Water, Clothing, Recycler, Bar, Garage, and Scrap Wheel
Approach by boat, board the lower platform and climb the stairs.
Loot areas
Wooden Crates on platforms; Military Crates in rooms, on platforms, on an upper level and at the helipad; an Elite Crate in an upstairs room; a Locked Crate in CONTROL
Guard encounter areas
Landing stairs, platforms, building approaches, connected passages and upper levels
(Encounter areas across the explored routes)
Use Coordinates, Markers and the Compass
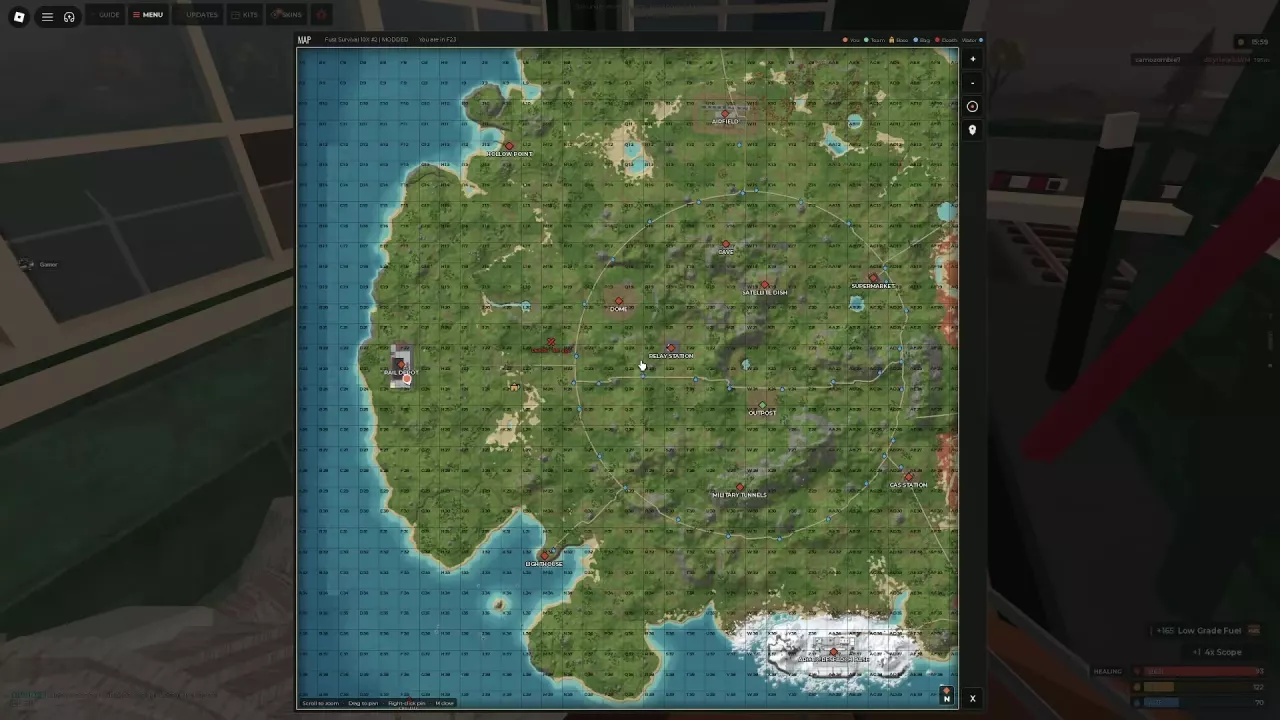
Press M to open the map. Find You and read your current grid coordinate to locate yourself relative to nearby landmarks.
Scroll to zoom and drag to pan. Zoom and location buttons are also on the right side of the map.
Right-click your destination to place a marker.
Press M to close the map, then follow the marker's direction and distance on the compass.
For the return trip, travel toward the house marker for your base.
Use the map legend to distinguish You, Team, Base, Bag, Death, and Water. Select the marker that matches your task: your base for a return trip, a death marker to retrace where you died, or a water marker when looking for water.
The current-coordinate readout describes where you are standing. To locate a monument, find its name on the map and read the grid beneath that location.
If you use custom controls, press P to open Settings and change key bindings.
Outpost Safe Zone and Services
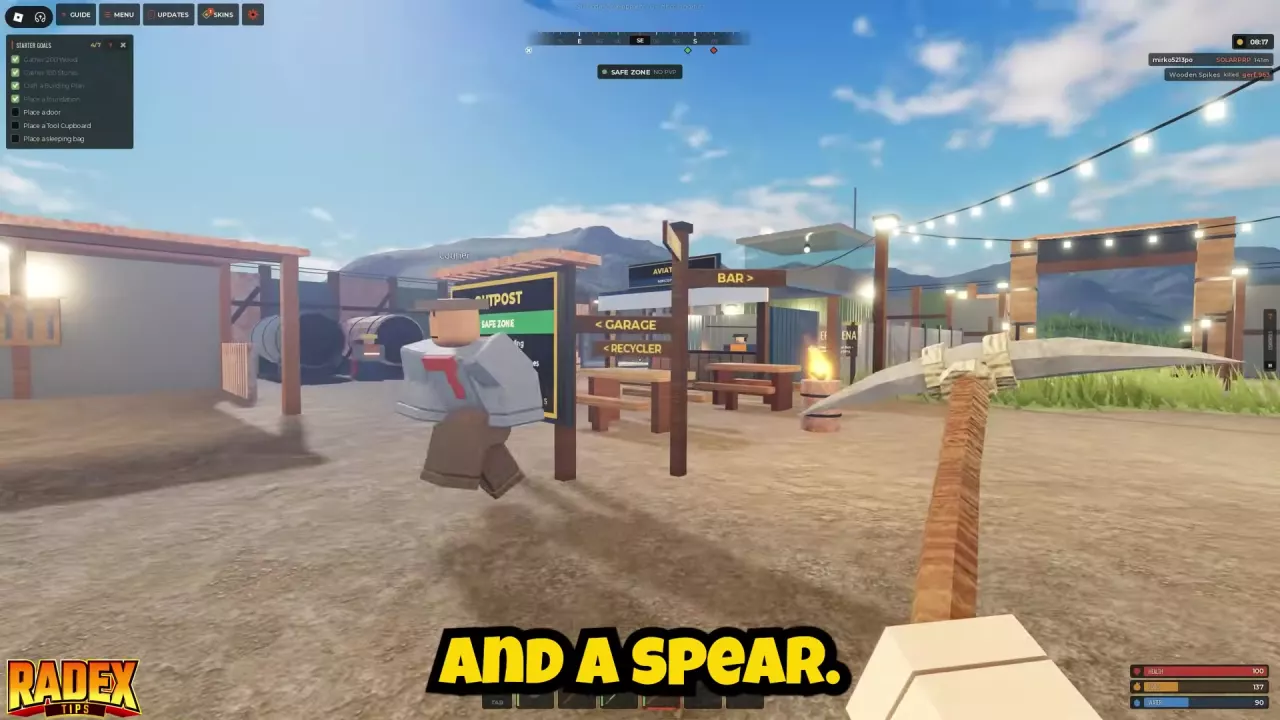
Find Outpost on the map and enter through the OUTPOST entrance. Signs identify the area as SAFE ZONE, NO PVP, and NO BUILDING. Fighting and building are prohibited inside the safe zone.
Follow the internal roads, stall signs, and directional boards to reach the service you need:
Tool Trader, TOOLS, and SHOP: use these names to identify the trading stalls along the roads.
Food & Water and Clothing: look for the corresponding stall signs.
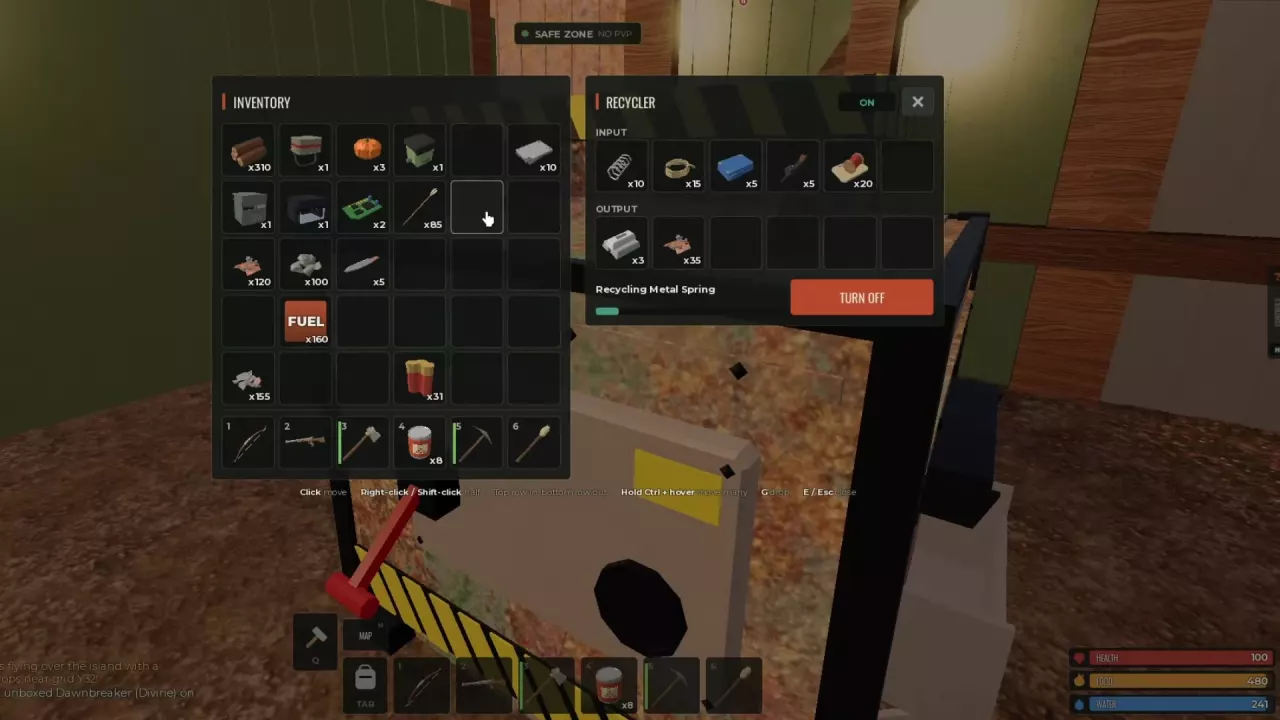
Recycler: follow the directional sign to the machine. The Recycler guide explains how to process items and which materials to keep.
Bar and Garage: follow their arrows from the internal signposts.
Scrap Wheel: look for the wheel and its PLACE YOUR BETS display with a countdown.
Choose a Route for Your Current Equipment
Need trading or recycling services? Choose Outpost. It lets you handle purchases and recycling in one destination. Use the service signs to find the right stop.
Want a focused Military Crate trip? Choose Dome. Its ramp route leads to one Military Crate past the ladder and two inside the left-hand entrance. Other players can attack on the approach, so prepare for the journey as well as the climb. Follow the Dome route for the turns and entrances.
Starting with a Hunting Bow on 10x? Consider Rail Depot or Trainyard. Fighting Guards and searching railway buildings offers a path toward better equipment. Switch to a looted firearm when you have suitable ammunition. Trainyard adds Military Crates in its green building; Rail Depot has station buildings, tracks, and a tower to search. The 10x railway progression guide covers the two routes separately.
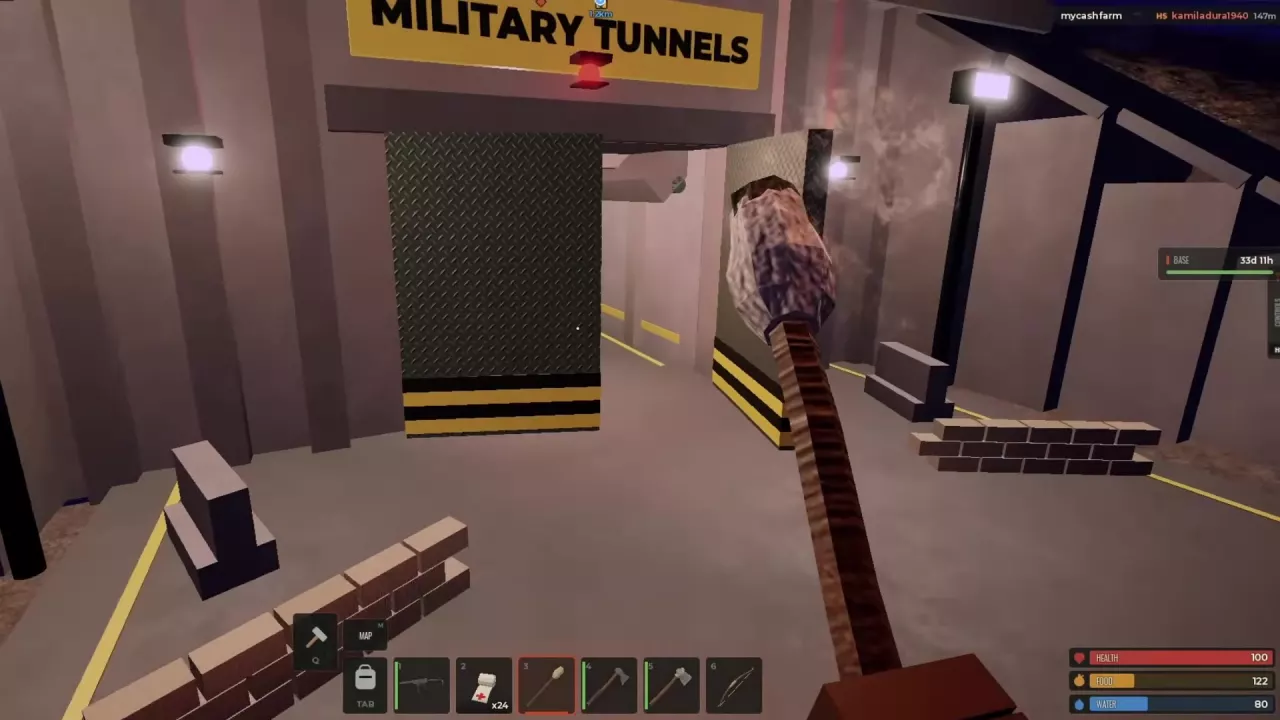
Have a weapon, a light source, and healing supplies? Consider Military Tunnels. A Torch helps with the dark entrance and nearby interior. Soldiers occupy the complex, and other players can be in corridors and side rooms. Walls and corners give you places to withdraw, reload, and heal. Use the Military Tunnels guide for the indoor advance.
Have a boat and supplies for repeated fights? Choose Oil Rig. Bring a weapon, matching ammunition, and healing supplies. Approach the lower platform by boat and watch for Guards above the landing and stairs. The rig includes a Locked Crate in CONTROL alongside other crate stops. Keep the boat for your return: swimming in Open Sea causes fatigue. See the Oil Rig route and extraction guide; use the vehicle guide for Rowboat controls.
Check Upper Platforms and Seasonal Pickups
Search above ground level
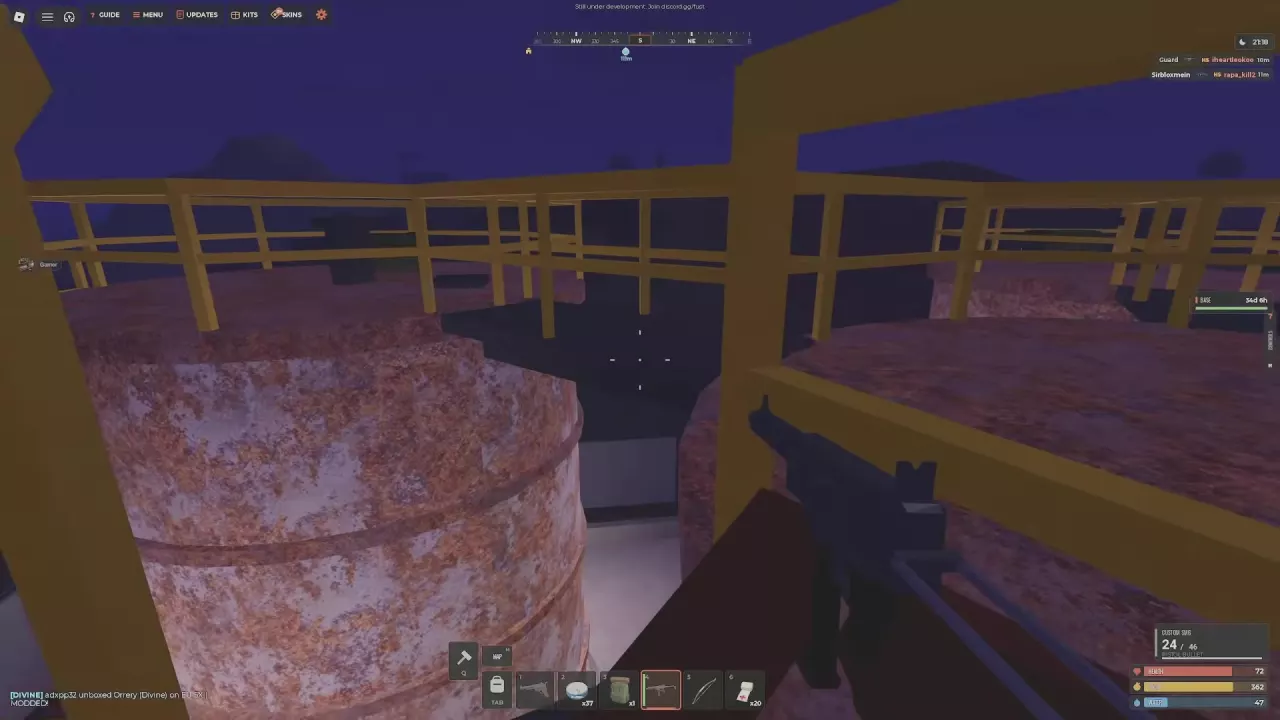
At industrial structures, look beyond ground-level containers. Raised rusted platforms can hold Military Crates, with an Elite Crate higher up. A pair of storage tanks connected by an upper walkway also provides a useful search pattern: check the first tank-top platform, then follow the connection and inspect the other tank top for another Military Crate.
Leave room for the extra stops. If your inventory fills, move items into an equipped backpack or free a slot before taking more equipment.
Stitched Legs near Gas Station
During the Halloween setting, look for Stitched Legs on the ground near Gas Station. When the item is present, aim at it until E TAKE appears, then press E. It is a component for a three-part collection objective. You can also recover it from a lootable player backpack that contains it. See events and seasonal pickups for related activities.
Approaching Satellite Dish
Use your marker's direction and distance while crossing the grass and hillside toward Satellite Dish. The large dishes and buildings help identify the destination, but other players can fire from the installation toward the approach. If shots are coming from that direction, treat the route as contested and avoid advancing straight across exposed ground.