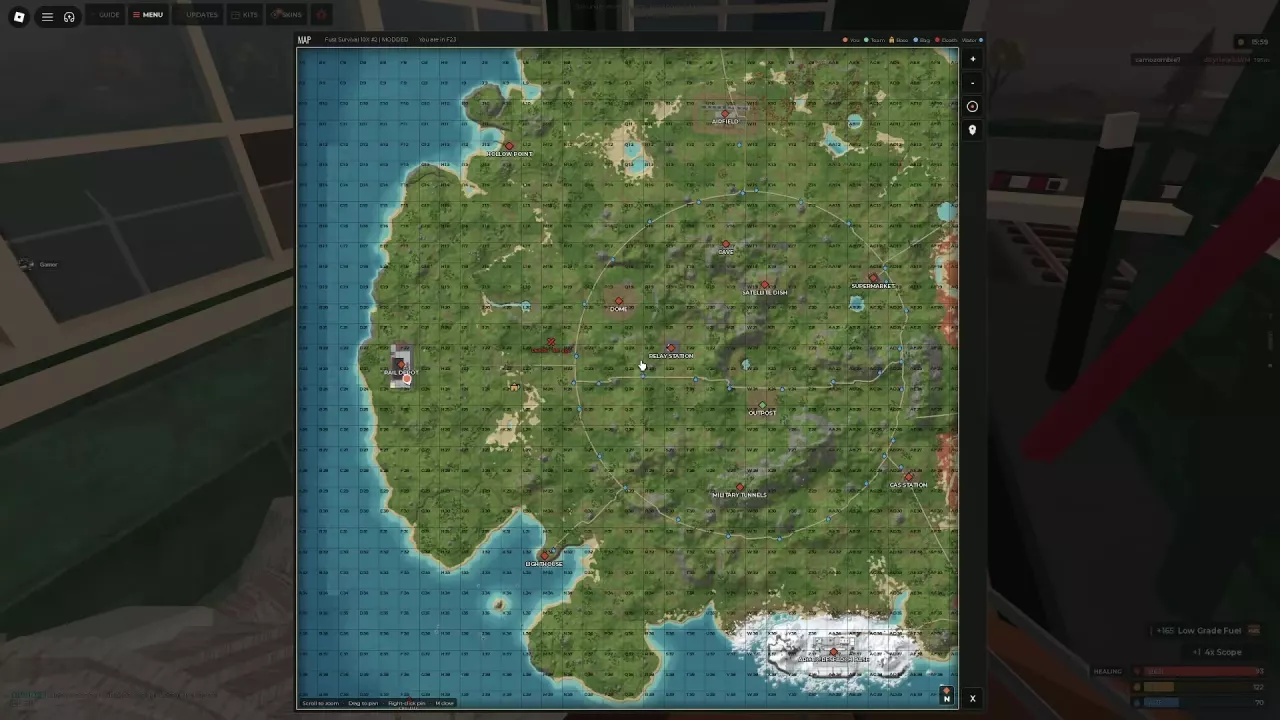
Fust Survival 10x Solo Progression: Railway Loot Routes
Last updated:
A Hunting Bow gives you a low-cost way to fight railway Guards before you own a gun. Choose the Rail Depot buildings-and-tower route or the Trainyard route through storage tanks and the green building, then bring your upgrades home.
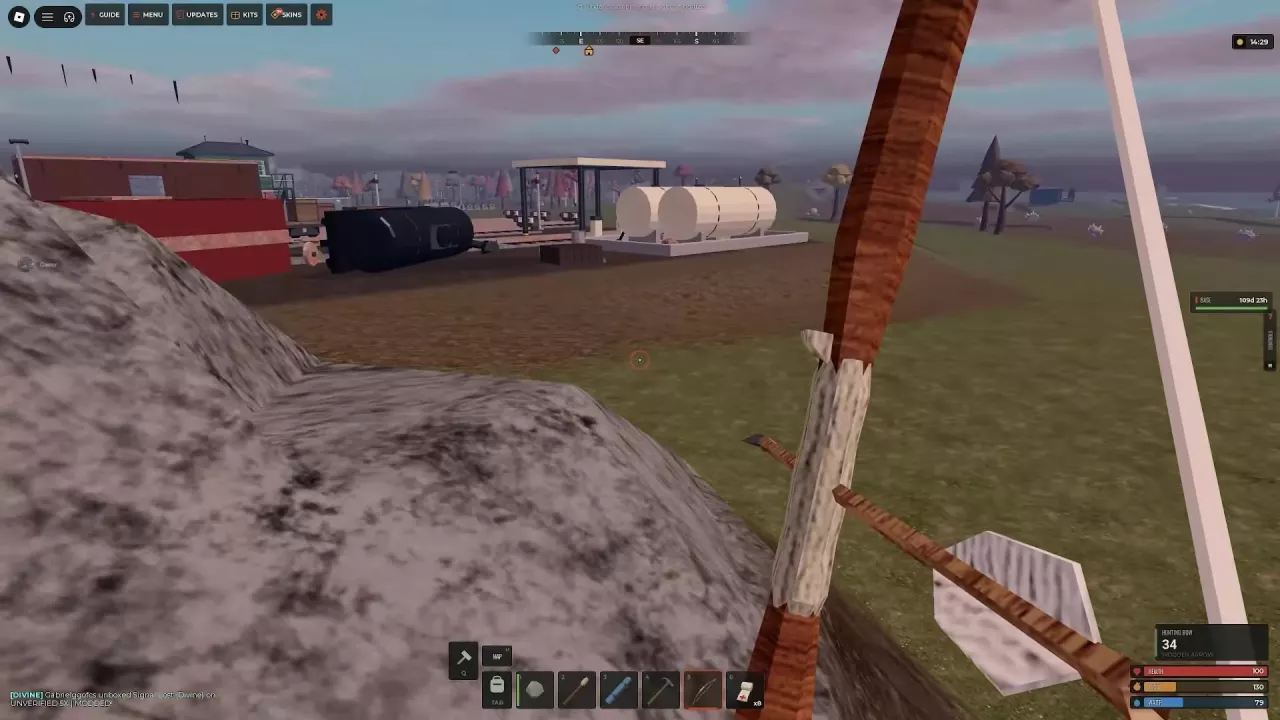
Prepare a Bow and a Place to Store Loot
Set aside a replacement kit and space to store loot before leaving. A small secure base lets you keep useful finds even when a later trip goes badly; use the solo starter base guide if you still need that setup.
For a bow start on 10x, prepare these supplies:
| Item | Materials | Output | Workbench |
|---|---|---|---|
| Hunting Bow | 200 Wood + 50 Cloth | 1 bow | None |
| Wooden Arrow | 25 Wood + 10 Stones | 2 arrows per batch | None |
| Bandage | 4 Cloth | 1 Bandage | None |
Press Q, select the recipe, choose your quantity and click CRAFT. Make arrows separately from the bow, and reserve Cloth for healing rather than spending it all on equipment. Bandages can finish crafting while you move; if the queue says INVENTORY FULL, free space so it can resume.
Keep your bow and healing supplies ready to select, and leave inventory room for ammunition, clothing and components. The bow can kill Guards, but close encounters can cost substantial health. Start fights at range by holding to draw, aiming and releasing your shot.
Rail Depot: Bow, Buildings and Tower
Rail Depot offers a bow entry into Guard fights, followed by searches through the station and track area. Revolver, Pistol Bullet, Corn and Burlap clothing are possible finds along this route; take the equipment you can use as you progress.
- Engage the first Guard with your Hunting Bow. Begin from range before moving deeper into the railway buildings.
- Search the station buildings and tracks. Collect supplies and equipment as you move through the site.
- Switch when you have a usable gun-and-ammo pair. If you find a Revolver and Pistol Bullet, equip and load it before entering the next building.
- Check the tower for another Guard. Be ready for a close fight. After defeating the Guard, search the body and use a Bandage if injured before continuing.
- Plan your exit on the map. Locate your base marker and head home once you have worthwhile equipment or need to replenish healing and ammunition.
Treat a loaded first gun as a reason to secure your progress. You do not need to keep pushing into another fight just because more buildings remain.
Trainyard: Tracks, Tanks and the Green Building
Use the railway tracks, red-brick buildings and train cars to orient yourself. This route connects Wooden Crates, Guards around the storage tanks, and two Military Crates inside the green building.
- Search the Wooden Crates along the tracks and buildings. Useful finds can include Wood Armor Pants, food, a Metal Pickaxe, Metal Fragments, Gears, Scrap and Metal Blades.
- Approach the storage tanks with your weapon ready. Engage the Guards before opening nearby loot. A Hunting Bow can start this encounter; a loaded Revolver is also usable as you work through the area.
- Heal and search defeated Guards between fights. Collect usable ammunition and supplies. Reload your Revolver with Pistol Bullet before approaching another enemy.
- Continue through the tracks and buildings toward the green building. Deal with the nearby Guard before opening the Military Crates inside.
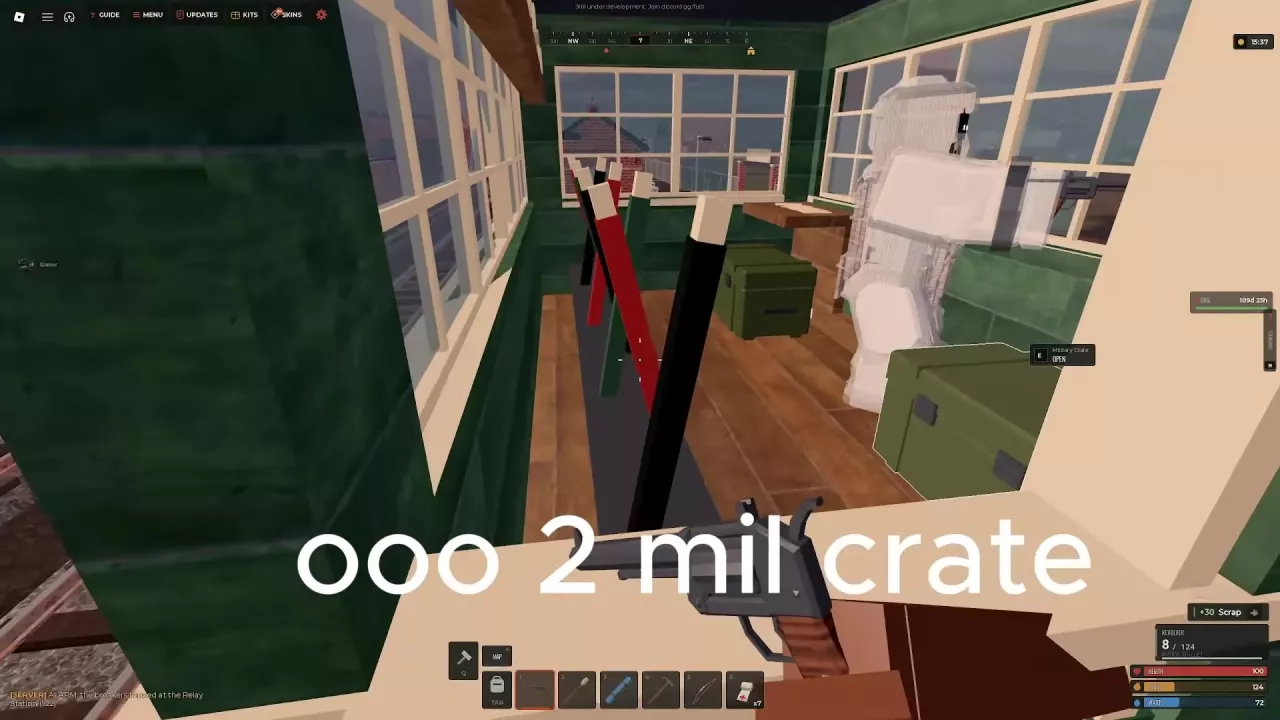
- Open both Military Crates. Approach a crate and use the E — OPEN prompt. Take useful equipment, then check the second crate before leaving.
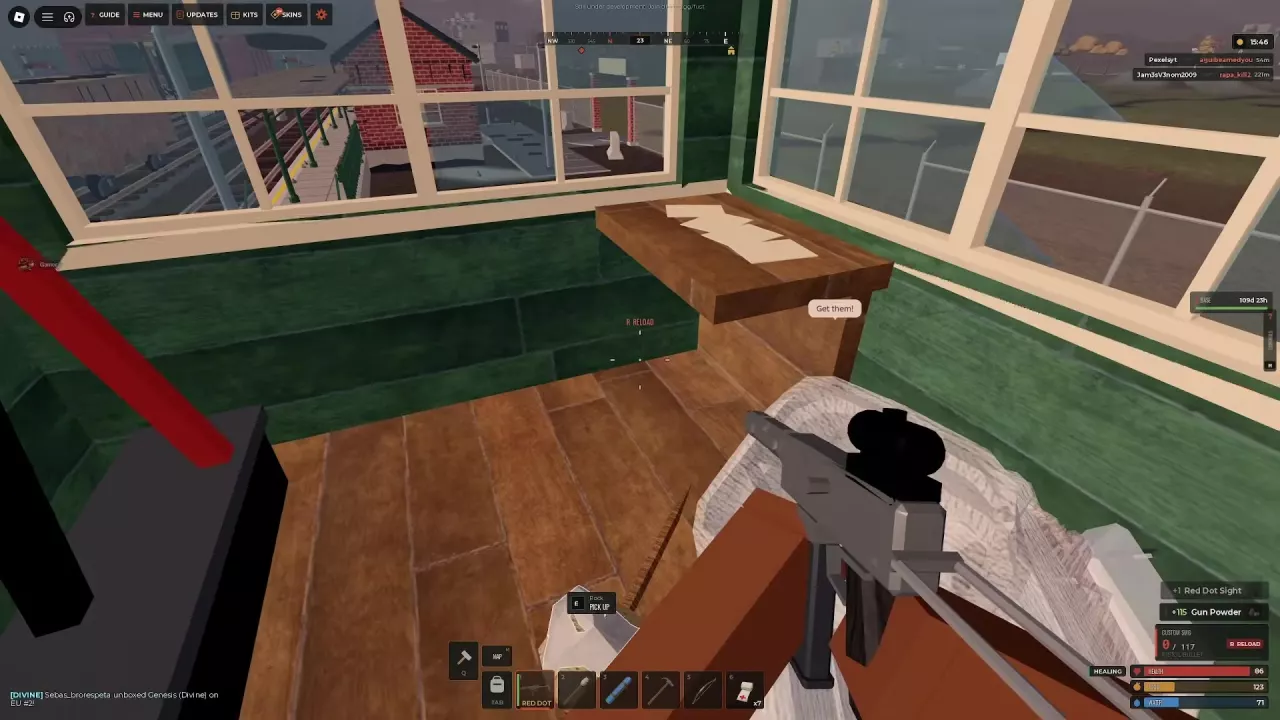
The green-building crates can provide a Custom SMG, Pistol Bullet, Bandages, attachments such as a Red Dot Sight or 4x Scope, and materials including Gun Powder, Metal Springs, Sheet Metal, Sewing Kits and Low Grade Fuel. Contents vary by crate: a Custom SMG is a possible upgrade, not a guaranteed reward.
This is the route to choose when you want to work toward the pair of Military Crates and can sustain several Guard encounters. If your healing or ammunition runs low before the green building, return with the supplies already collected.
Turn Loot into a Usable Upgrade
Match the weapon to ammunition you actually carry before replacing your current combat option:
| Weapon | Matching ammunition | Use during railway progression |
|---|---|---|
| Hunting Bow | Wooden Arrow | Start Guard fights without a workbench |
| Revolver | Pistol Bullet | Continue clearing once you obtain and load one |
| Custom SMG | Pistol Bullet | Use a green-building crate find once you can supply its magazine |
A newly equipped gun can have an empty magazine even while you carry ammunition. Check the loaded count and press R to reload before advancing. The Custom SMG holds 24 rounds and shares Pistol Bullet ammunition with the Revolver, so reserve enough ammunition for the gun you intend to use. Handmade Shells found alongside a gun do not load either of these weapons. See the ammo chart and resupply guide for other pairings.
If you have the materials, crafting a Revolver is an alternative to finding one. On 10x, its recipe requires 500 Metal Fragments, 2 Metal Springs, 2 Metal Pipes and Workbench Level 1. Open Crafting with Q, select Revolver and click CRAFT once those requirements are met; prepare Pistol Bullet separately. The weapon guide covers other acquisition options.
Equip usable armor as you find it, and keep ammunition and Cloth for continued fighting and healing. Rail Depot can supply Burlap clothing; Trainyard's Wooden Crates can supply Wood Armor Pants. When your inventory fills, move stored items into an equipped backpack to free space for further pickups. Use the backpack guide for equipping, opening and pickup restrictions.
Bank Supplies Before the Next Run
- Open the map and locate your Base marker. Compare it with your current position and choose your return direction. The map guide explains the broader navigation tools and monuments.
- Deposit excess materials, spare guns and equipment. Keep only what you need for the next trip on your character. Separate reserve ammunition and replacement gear so you can retrieve them quickly; the storage guide covers box organization.
- Check the Tool Cupboard and replenish upkeep materials as needed. Then restock arrows or matching bullets, craft Bandages and reload your weapon before heading out again.
Choose the next trip around your remaining supplies. If you returned with a gun but little ammunition, keep the bow available while building a reserve. If you brought home a loaded weapon, healing and spare equipment, bank the extras before taking that stronger kit back into the railway area.