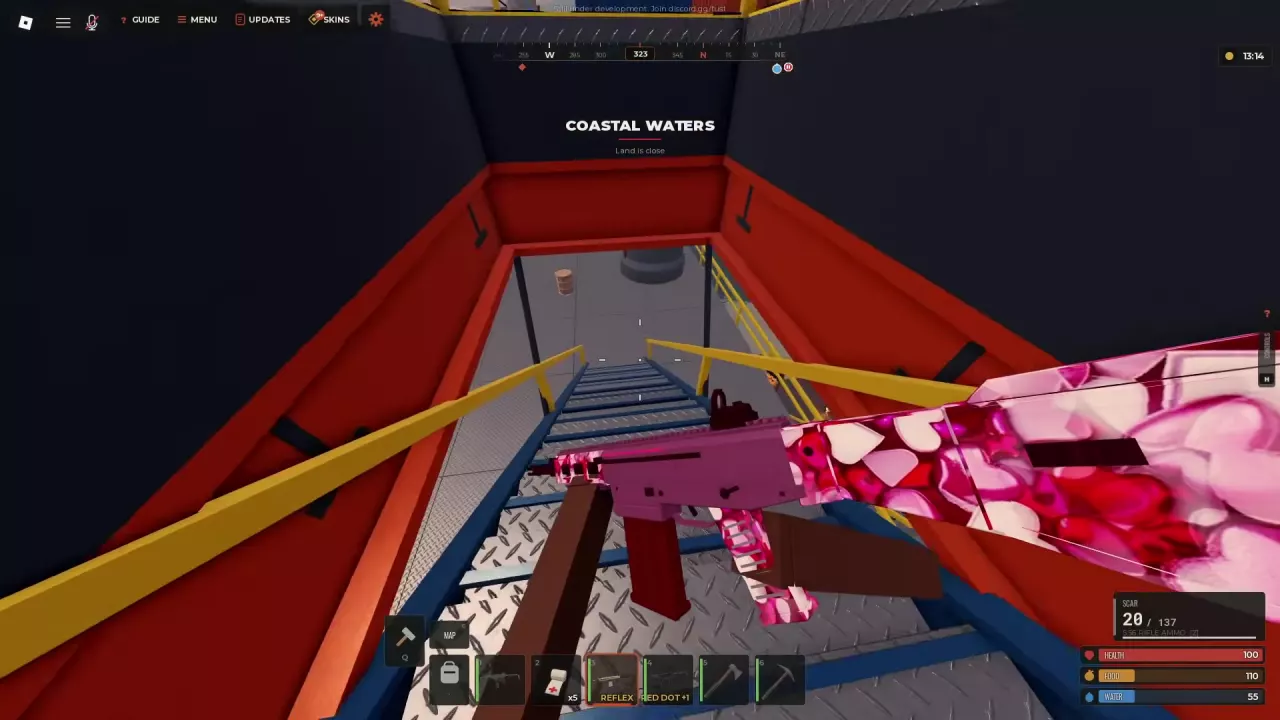
Fust Survival Oil Rig Guide: Boarding, Loot and Extraction
Last updated:
Oil Rig combines exposed walkway fights, rooms full of crates, and a timed hack that announces your activity to the server. Bring supplies for the fighting and leave enough carrying space to make the return trip worthwhile.
Prepare a Boat, Ammunition and Carrying Space
Pack a weapon, matching ammunition, accessible healing supplies, and a backpack with room for loot. Leave valuables you do not need at base: the trip includes several fights before you can bring anything home.
- Match ammunition to your weapon. Tactical SMG uses Pistol Bullet; Compound Bow uses Wooden Arrow. Check the ammo chart when choosing your loadout.
- Bring healing supplies. Keep them within reach for consecutive platform fights. The healing guide covers supply effects and Bandage crafting.
- Leave carrying space. Equipment, components, and ammunition can fill your inventory before you reach the Locked Crate. Use the backpack guide to prepare extra storage.
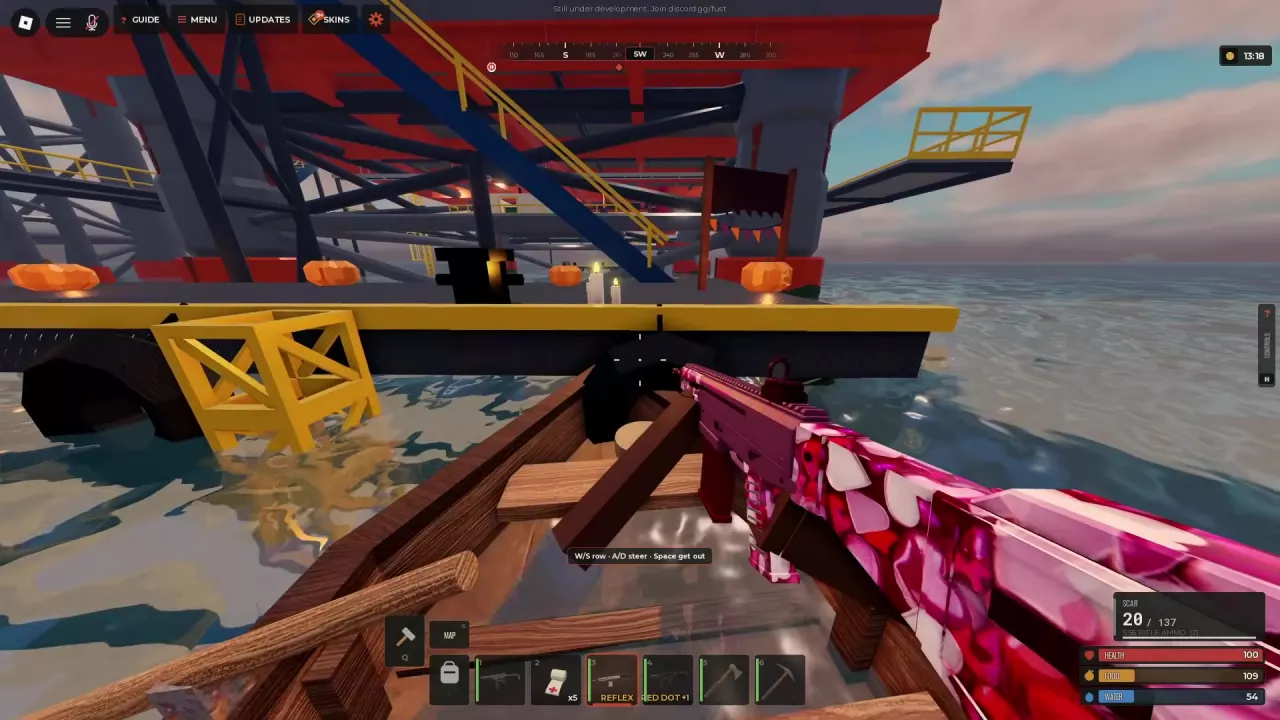
Look along the shore near the rig for a Rowboat. If you cannot find one, try the area to the left of Lighthouse; another player may already have taken a nearby boat.
- Approach the Rowboat and press E at SIT.
- Use W/S to row and A/D to steer.
- Press Space to leave the boat when you reach the landing.
Swimming in Open Sea causes fatigue, so keep the boat available for your return. You can open Inventory and Small Backpack while seated. For other travel options, see the vehicle guide.
Board the Lower Platform
Open the map and find Oil Rig offshore. Its position can be southwest of the main island, depending on the map layout; navigate toward the Oil Rig marker on your map. The map and monument guide covers broader navigation.
- Row toward the structure's platform near water level.
- Bring the boat alongside the landing, get out, and climb the steps into the rig.
- Check the stairs and platform above you before advancing. Guards can overlook the approach.
An empty entrance can mean another player has already passed through. Keep checking the next level instead of treating a quiet landing as a cleared rig.
Clear the Walkways and Search the Rooms
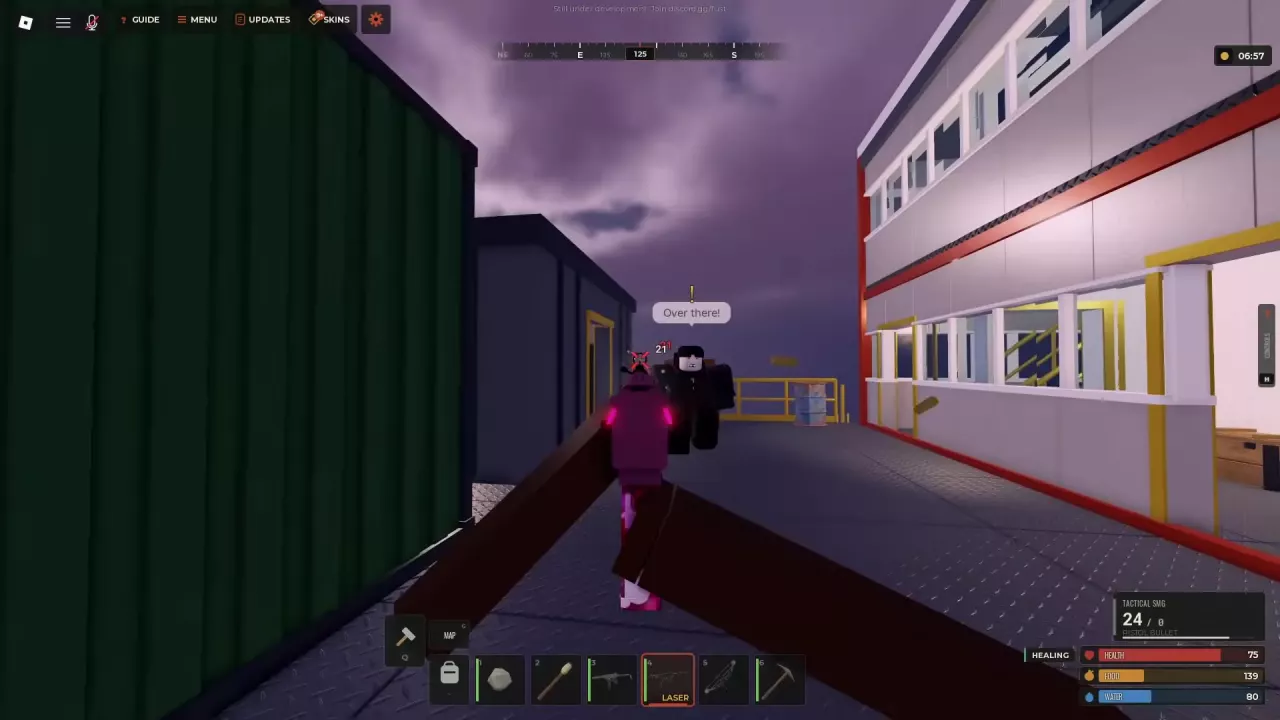
Clear visible Guards before stopping to loot or crossing an exposed walkway. Check building entrances and the levels above you, then reload before the next push.
- Search the first platform. After dealing with its Guards, check the Wooden Crates.
- Enter the nearby room. Search its Military Crate. If you reach the CONTROL-room Locked Crate early, start its hack before continuing so the timer runs while you explore.
- Move toward the connected building. Check for a Guard beside the walkway and building approach before crossing, then take the stairs up.
- Search the upstairs room. Look for the black, gold-trimmed Elite Crate.
- Return downstairs. Check the Wooden Crates, including the one near the platform edge.
- Search the higher section. Check its Military Crate before continuing across the connected platforms toward CONTROL.
Choose your weapon for the approach
- Compound Bow: Use an elevated position to engage visible Guards across the rig before crossing to their platform. This suits a deliberate approach where you can aim before advancing.
- Tactical SMG or Custom SMG: Use these for successive platform, building, and stair fights. Guards return fire, so keep healing accessible and check both your magazine and reserve ammunition between encounters.
Search defeated Guards for useful supplies once the immediate area is clear. See the NPC guide for general Guard behavior and looting.
Check ordinary crates along the way rather than saving all your attention for the final hack. Military Crates can provide weapons such as a SCAR, while the upstairs Elite Crate can contain rifle ammunition, armor, and components. Player bags are another opportunity if you find them, but their contents belong to whoever dropped them.
Start the CONTROL-Room Hack
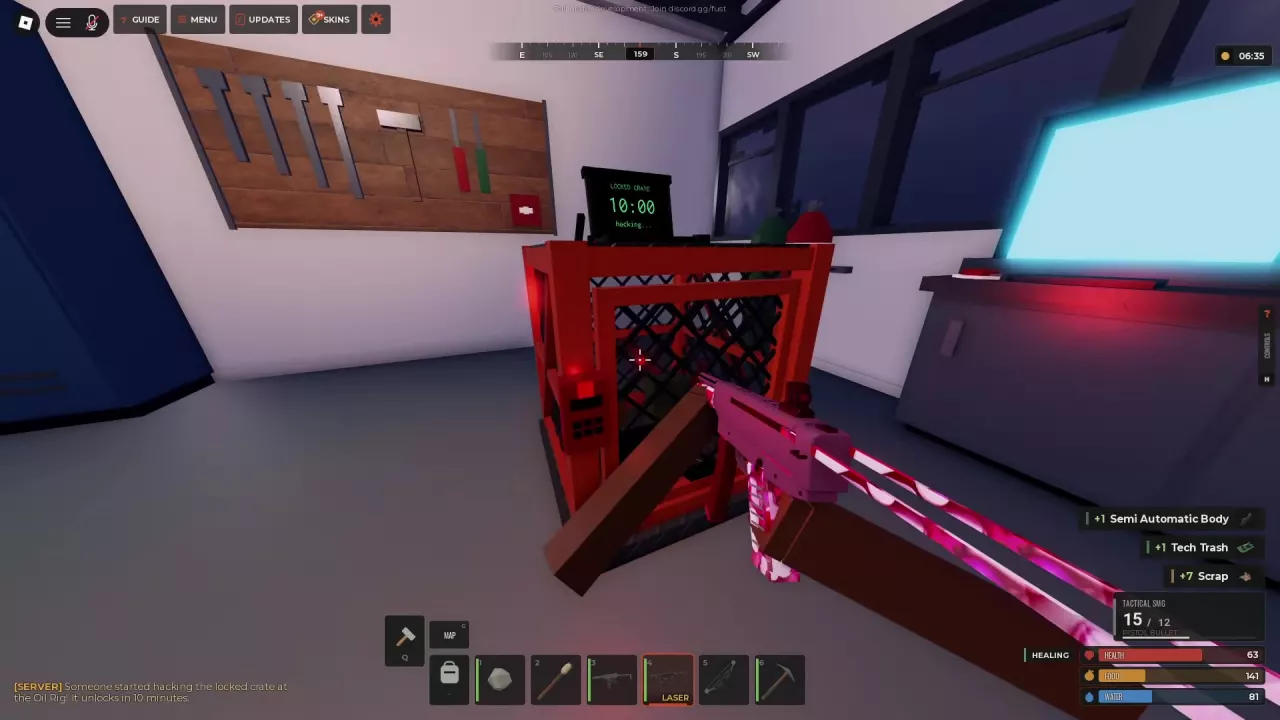
Enter the room marked CONTROL and inspect the screen on the Locked Crate. Its state determines your next action.
| Crate state | What to do |
|---|---|
| COOLDOWN / next hack | Wait for the remaining cooldown before starting another hack. |
| LOCKED / HACK TO OPEN | When E — START HACKING appears, press E. |
| hacking… | Let the active countdown finish; search the remaining rig while it runs. |
| UNLOCKED | Loot the crate directly without starting another hack. |
Starting a hack changes the display to 10:00 and sends a server announcement that hacking has begun at Oil Rig. Other players can use that announcement to find you, so keep watching the approaches while you search.
The ten-minute timer is the hacking duration. Next hack measures the separate wait before a new hack becomes available.
Search Upper Decks During the Wait
With the hack running, continue through the remaining loot areas instead of standing beside the crate.
- Search the Military Crate inside CONTROL.
- Head past the containers and check the Military Crate on the next platform.
- Climb to the upper level and search its Military Crate. Loot defeated Guards nearby for useful ammunition and supplies.
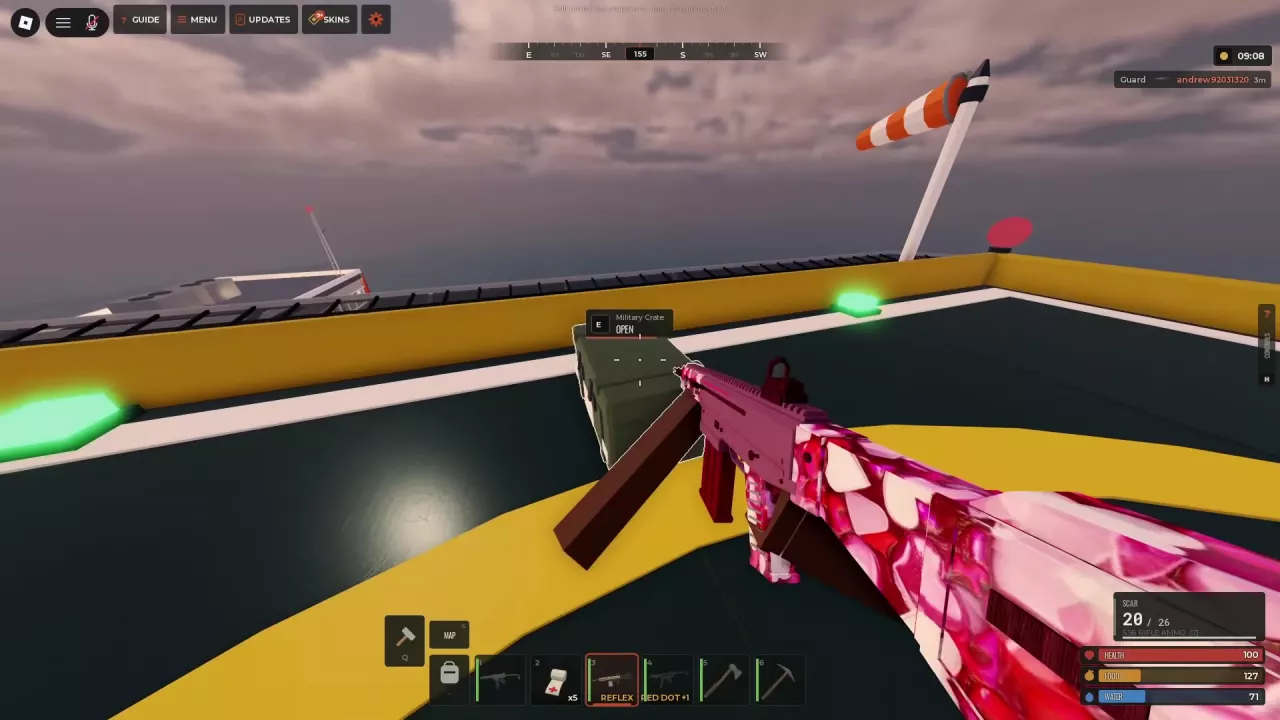
- Continue up to the helipad and open its Military Crate.
- Return to CONTROL to check the hacking countdown.
If your inventory fills, move items into your backpack before opening more containers. Cloth collected along the route can help replenish Bandages, but leave inventory space for the finished items: a full inventory can pause the crafting queue.
Keep enough ammunition ready for the journey back down. Finding more supplies is useful, but relying on the next container to rescue an empty weapon makes every remaining fight harder.
Collect the Locked Crate
Return to CONTROL and wait for any remaining hacking time to finish. When the lid opens, press E at LOOT, then transfer items individually or use TAKE ALL. The opening also sends a server announcement.
Make room before transferring the contents, and watch the disappearance countdown in the loot window. That countdown concerns the opened container; the screen's next hack timer concerns a future hacking attempt.
What is worth carrying out?
The Locked Crate can provide firearms, ammunition, armor, components, resources, and explosives. Possible finds include:
- Semi-Automatic Rifle and Assault Rifle: Useful equipment upgrades, especially when you also collect matching ammunition.
- Road Sign Jacket, Metal Chest Plate, Riot Helmet, and other armor: Protection to equip or carry home.
- Timed Explosive Charge (C4) and Explosives: Valuable supplies to save for raiding.
- Tech Trash, weapon components, Gun Powder, High Quality Metal, Metal Fragments, and Scrap: Materials worth making room for when you need crafting supplies or further progression.
These are possible finds, not a guaranteed bundle. Shard rewards can also accompany an opening; use SKINS > CRAFT for skin crafting when you receive them.
For container types and their contents beyond this route, see the loot crate guide.
Return to the Lower Landing and Leave
Once you have transferred the loot you want, take the route back to the water.
- Leave CONTROL and cross the deck past the containers and crane.
- Follow the stairs downward toward the platform near water level.
- Approach the boat beside the lower platform and press E at SIT.
- Turn away from the rig and row toward the visible coast. Use the compass and distance markers to maintain your heading.
Keep your weapon ready until you reach the boat. Finishing the loot route does not clear every threat, and lingering with valuable gear and little ammunition gives nearby Guards or other players another chance to catch you.